Website Builder CMS has a very comprehensive list of menus options. If you have an idea of a menu system, you will be able to create it with Website Builder. Here are a few examples of what you can do:
First of all, the code used to generate Website Builder's navigation menus is simple, and w3c compliant. Search engine bots/crawlers and any browsers for vision impaired users (brail keyboards / text to speech systems) will not have any difficulties crawling through your links as the code is not cluttered by bad and unnecessary code.
In addition to this, we added all the necessary information a search engine would need to index your pages properly, and for the web developers to create astonishing styles that make the web better.
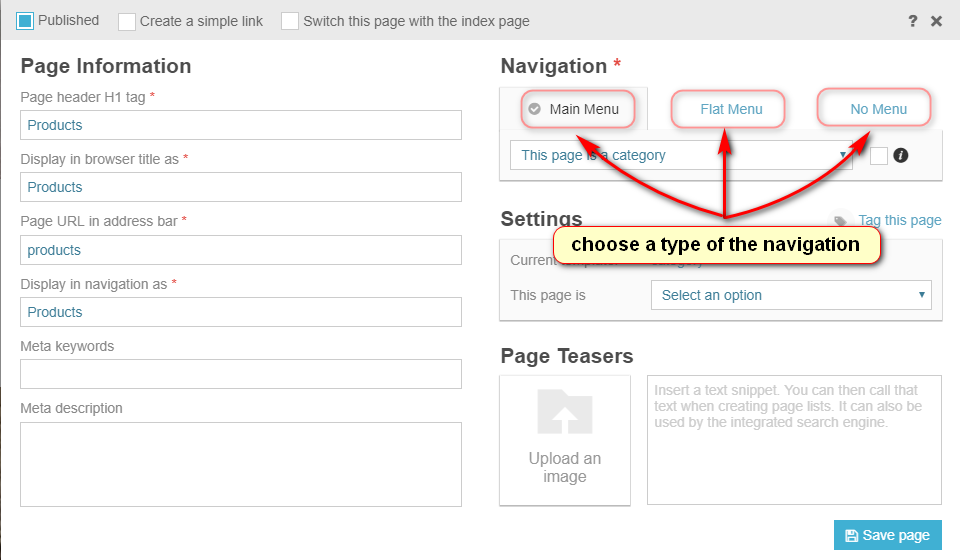
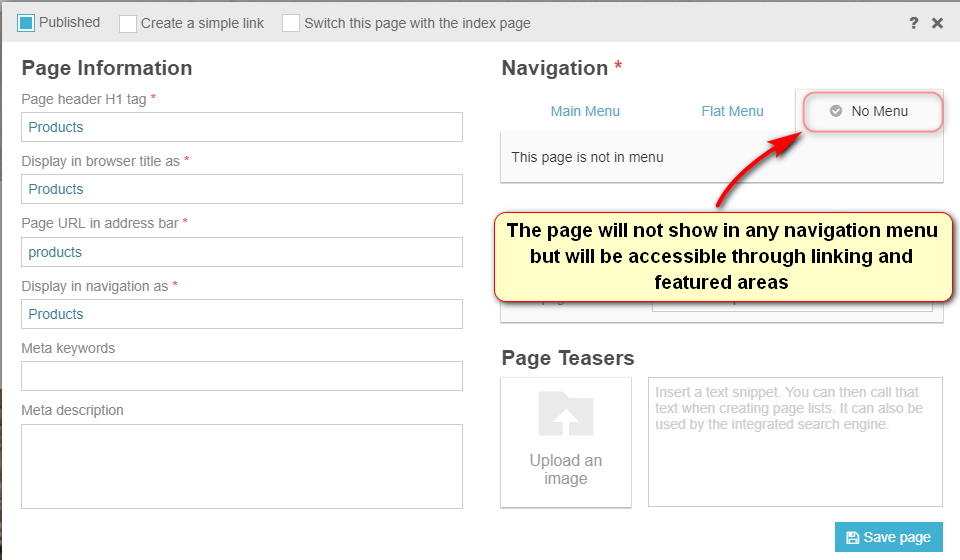
There are 3 main types of navigation menus in Website Builder that can be used right out of the box.
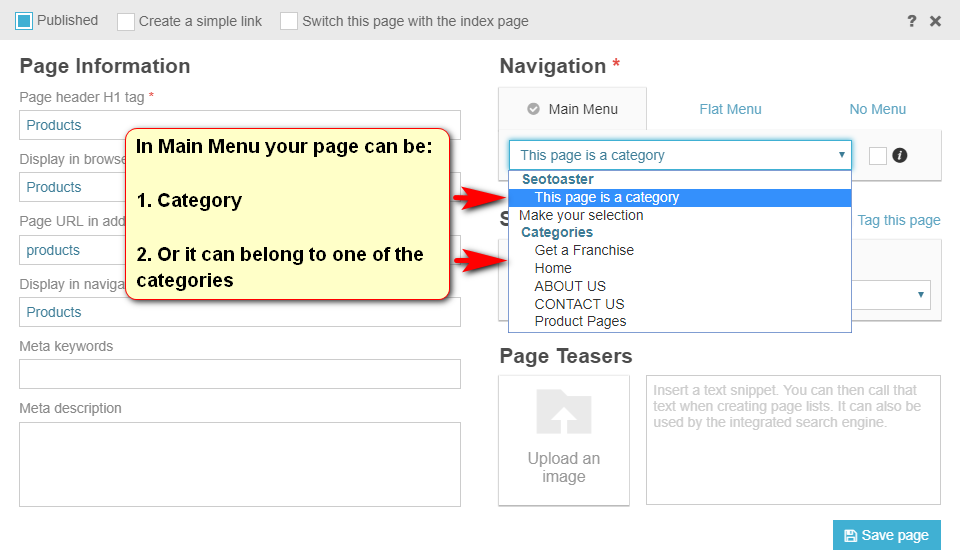
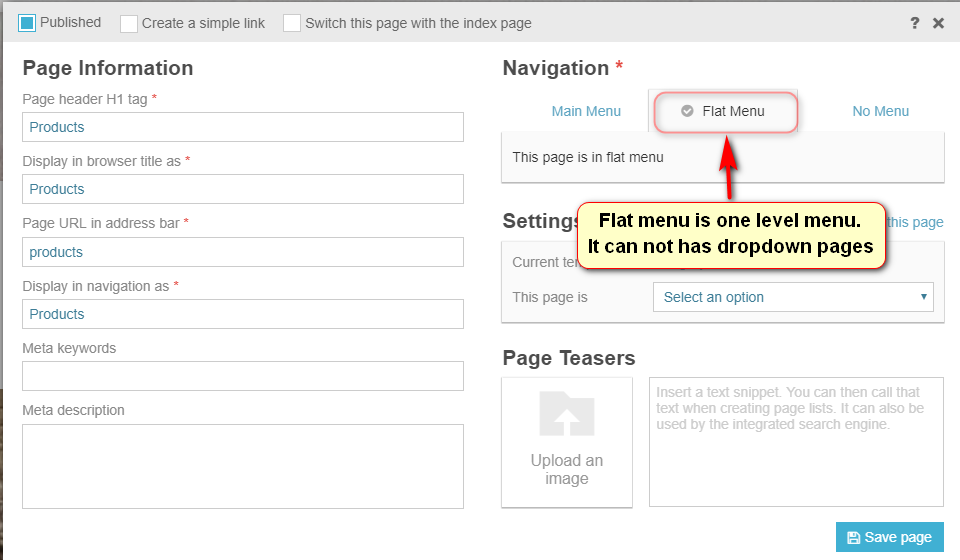
{%%menu:main} - this is your main menu that will display your categories/pages list. When creating a page, you tell the system that you want this page to be in the main menu under XYZ category or simply tell the system that the page you are creating IS a category.{%%menu:main:img} - same as above but uses the teaser text and images (you should use them!) and displays the image and text describing your page.{%%menu:flat} - this is a one level menu frequently used for common information links such as " About us | contact us" etc.There are also list classes you can use to create automated listings of categories, images, and pages anywhere on your website.
{%%list:categories} - just a list of all your categories in your website.{%%list:categories:img} - same as above but uses the teaser text and images (You should use them!) and displays the image and text describing your page. It is up to you to create an amazing design for it.{%%list:pages} - lists all pages within this very category{%%list:pages:img} - same as above but also uses the teaser text and images for an enhanced experience for the user. You would use those 2 types of the menu above in a "category" template, for example, that way when somebody clicks on a category link, they see a small blab about the category, then a list of pages for this very category.
Website Builder's Secret Weapon: The "Featured Areas" (Floating menus)
Featured Areas are tags-based "floating menus" that you can instantly throw in any content on your web pages in it, then pull those pages from anywhere. 
max results Max number of pages to display.. (Maybe you do not have room to display more than 4 links out of 20 you have in "Beach home'max characters Max character to display from the teaser text of your page (located in create/edit page screen)use image? You can also upload a nice teaser image for your pages, so you can show a thumbnail or preview image along with each menu itemrandom If you check this box, Website Builder will randomly display the max results of pages (e.g. 4 out of 20) you have put in this menu.Once you're done configuring your Featured Area through the widget, the code in your content should look like this:{%%featuredarea:Name of the featured area:max pages result:Max teaser text characters:Random or not}
If you checked the box "Use images", then the code will appear as follows: {%%featuredareaimg::Name of the featured area:max pages result:Max teaser text characters:Random or not}