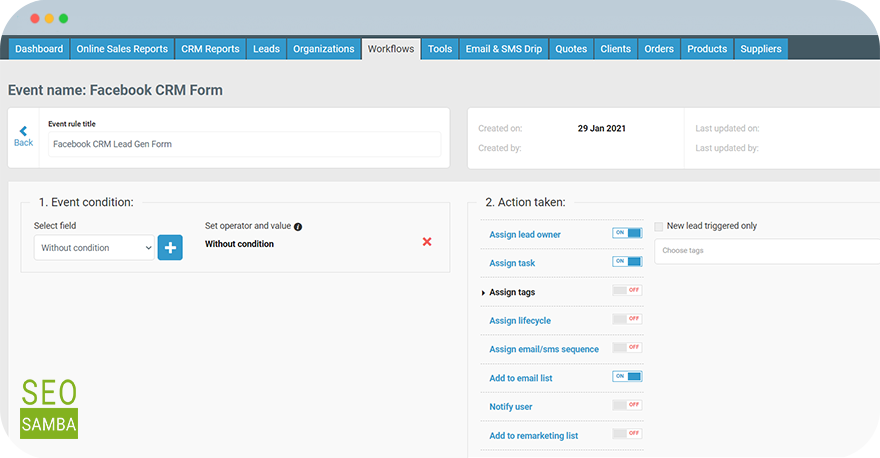
External events workflows allow you to track events from third party services connected to your websites and apply actions to you leads after certain actions that happen in those services. SeoToaster CRM can be integrated with any software with the help of Zapier
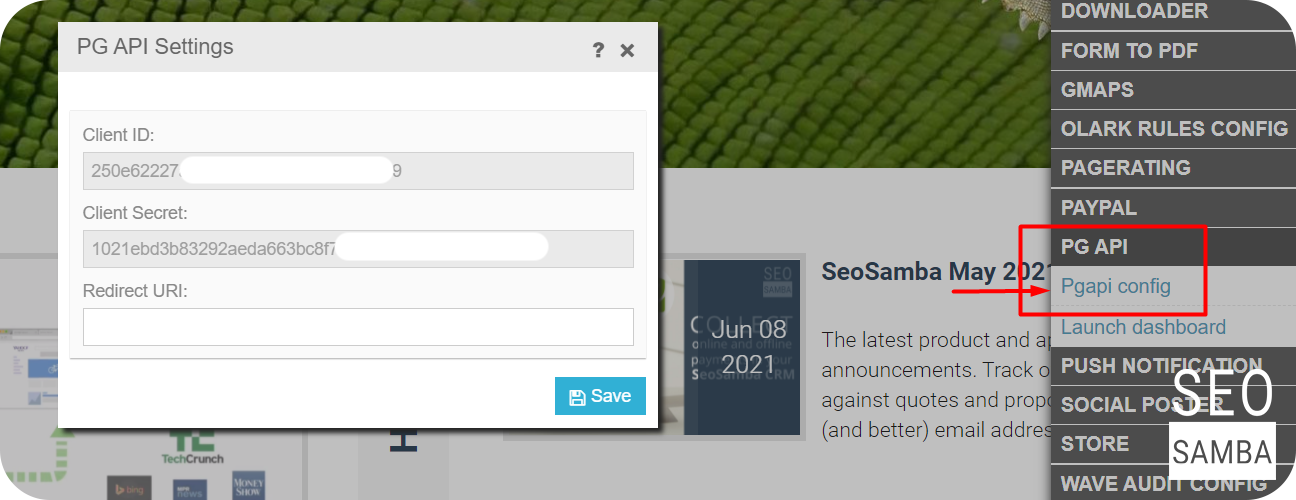
To set up external workflows in your CRM you need to have PG API plugin on your website (if you don't see it in your Admin panel, contact your website tech support ands request adding this plugin to the website) you will need these keys in order to connect your website to Zapier.
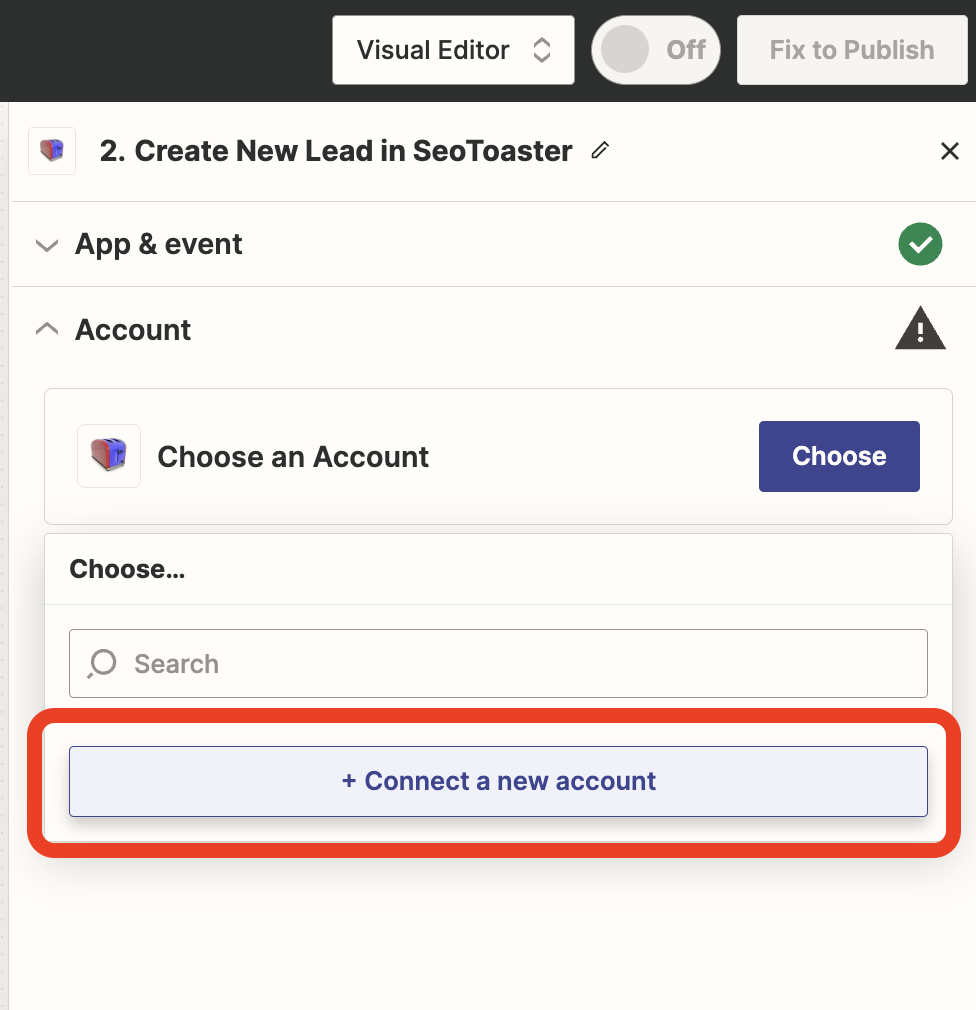
While setting up SeoToater trigger, you will need to add SeoToaster account by clicking "+ Connect a new account"
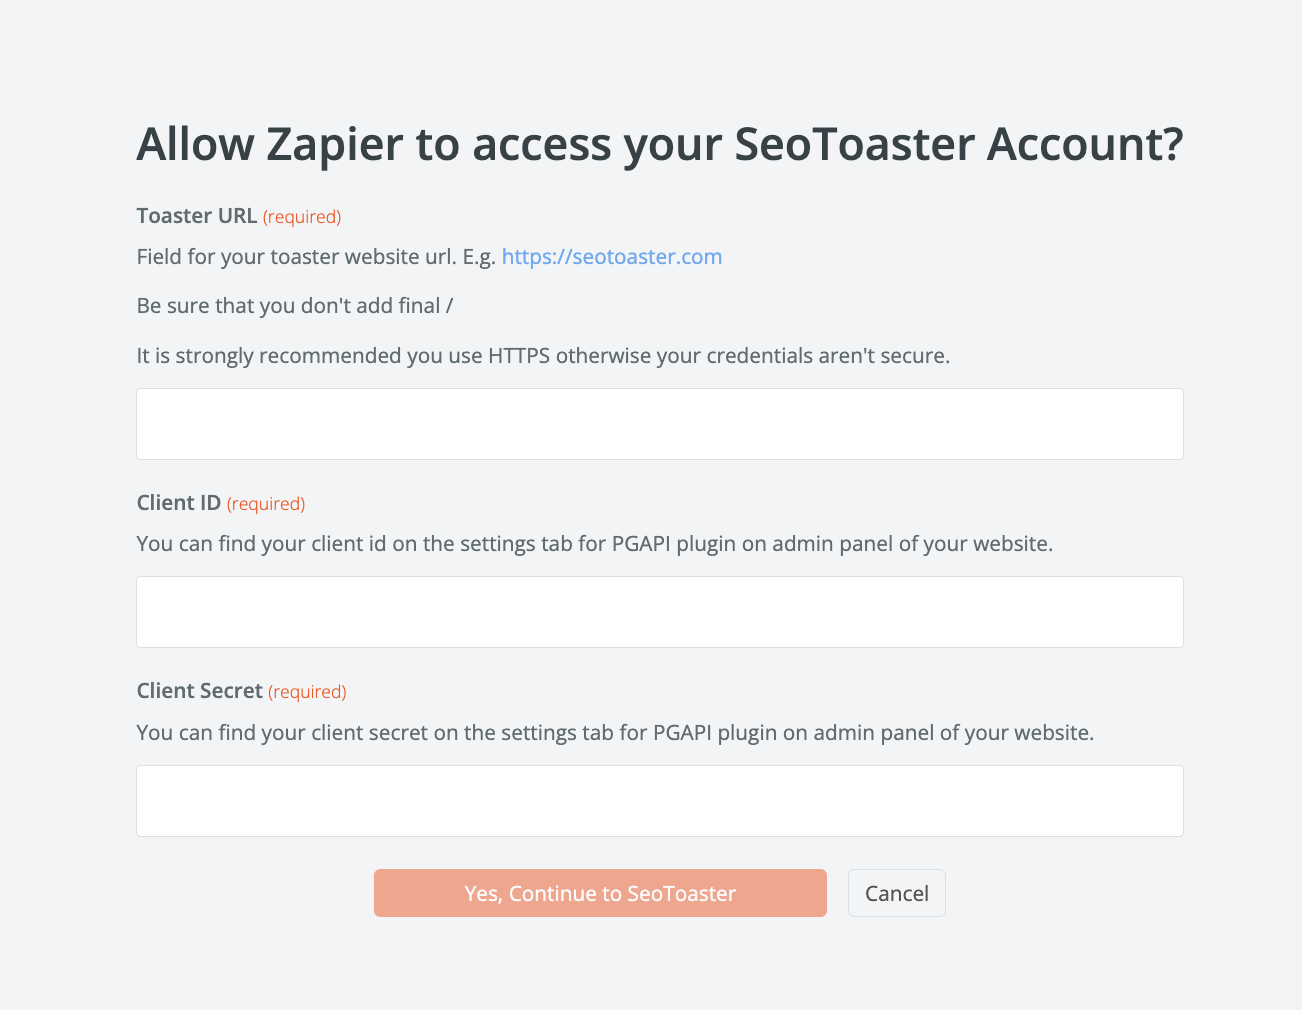
Then, a dialogue window will show up:
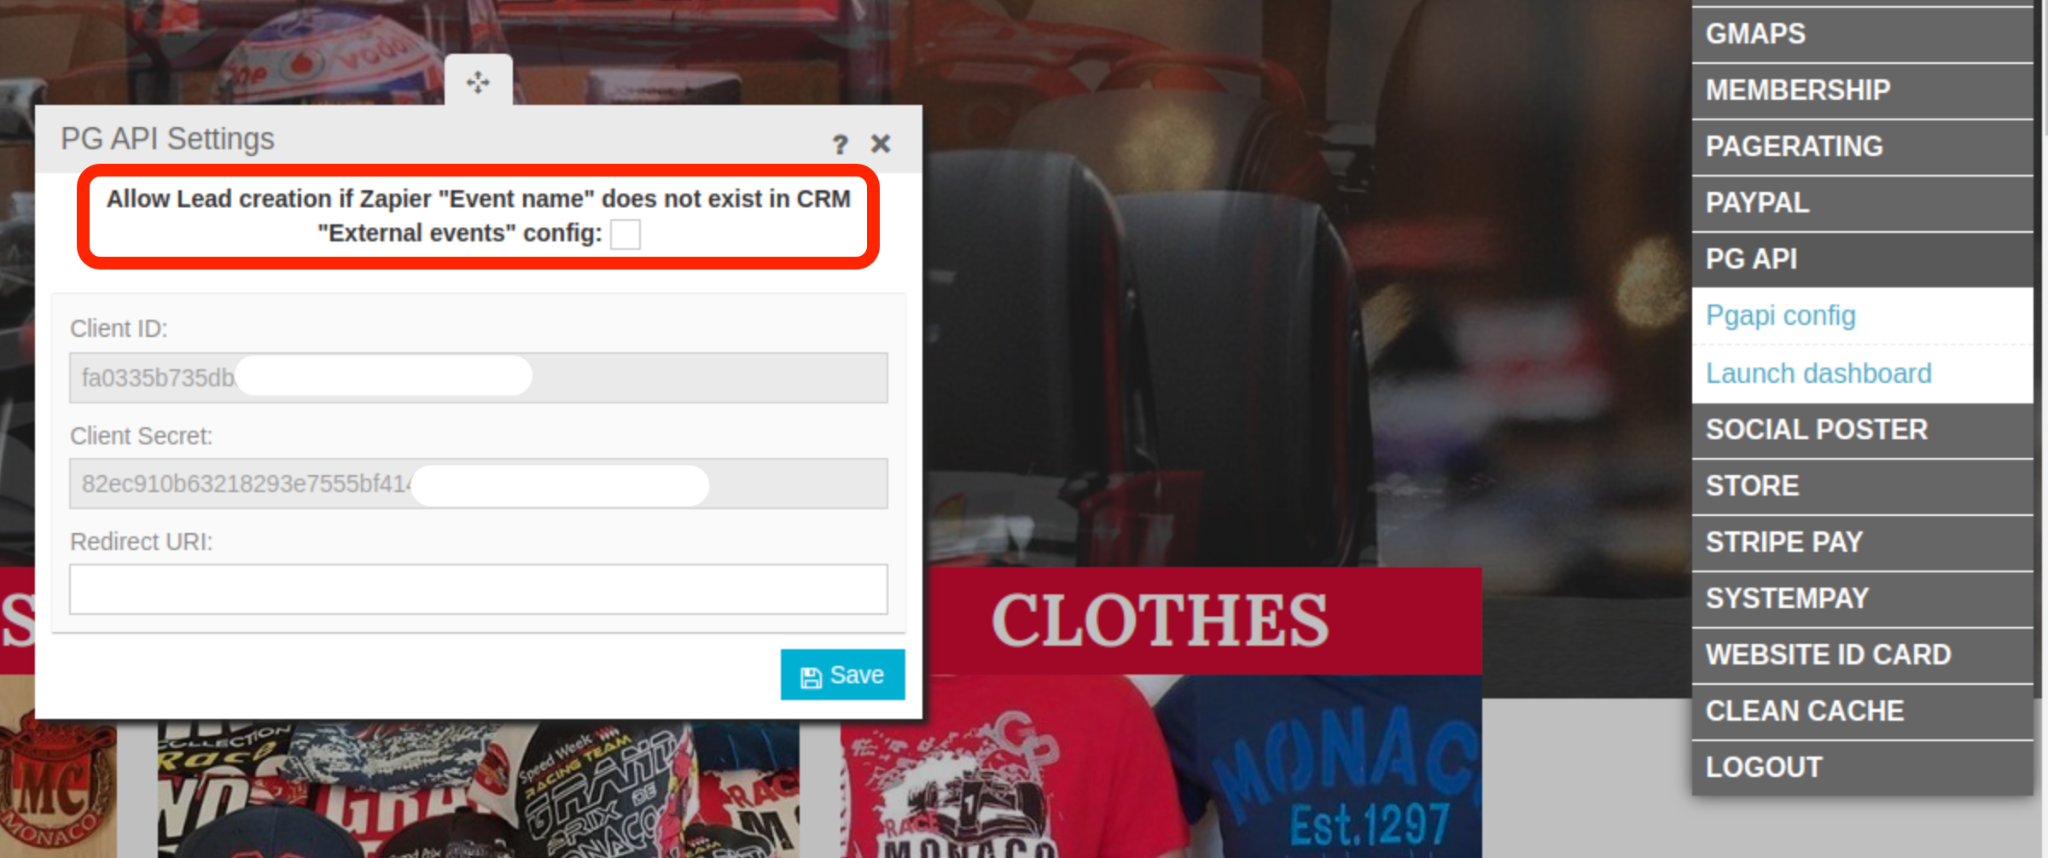
Client ID and Client Secret you will find in PG API Plugin Settings:
Please note:
The latest plugin versions now include a checkbox that allows for lead creation even if the event name in "External Workflows" within your CRM is either not set up or set up incorrectly.
To ensure everything is functioning properly, please follow these steps: If you have created an event name in your CRM and then created a Zap, but find that the test lead is not showing up in your CRM, return to the PG API config window and activate the checkbox.
If a test lead is then successfully created in your CRM, it is important to double-check your Event Name settings in both your CRM and in Zapier. This will ensure that lead source tracking and workflows are functioning correctly.
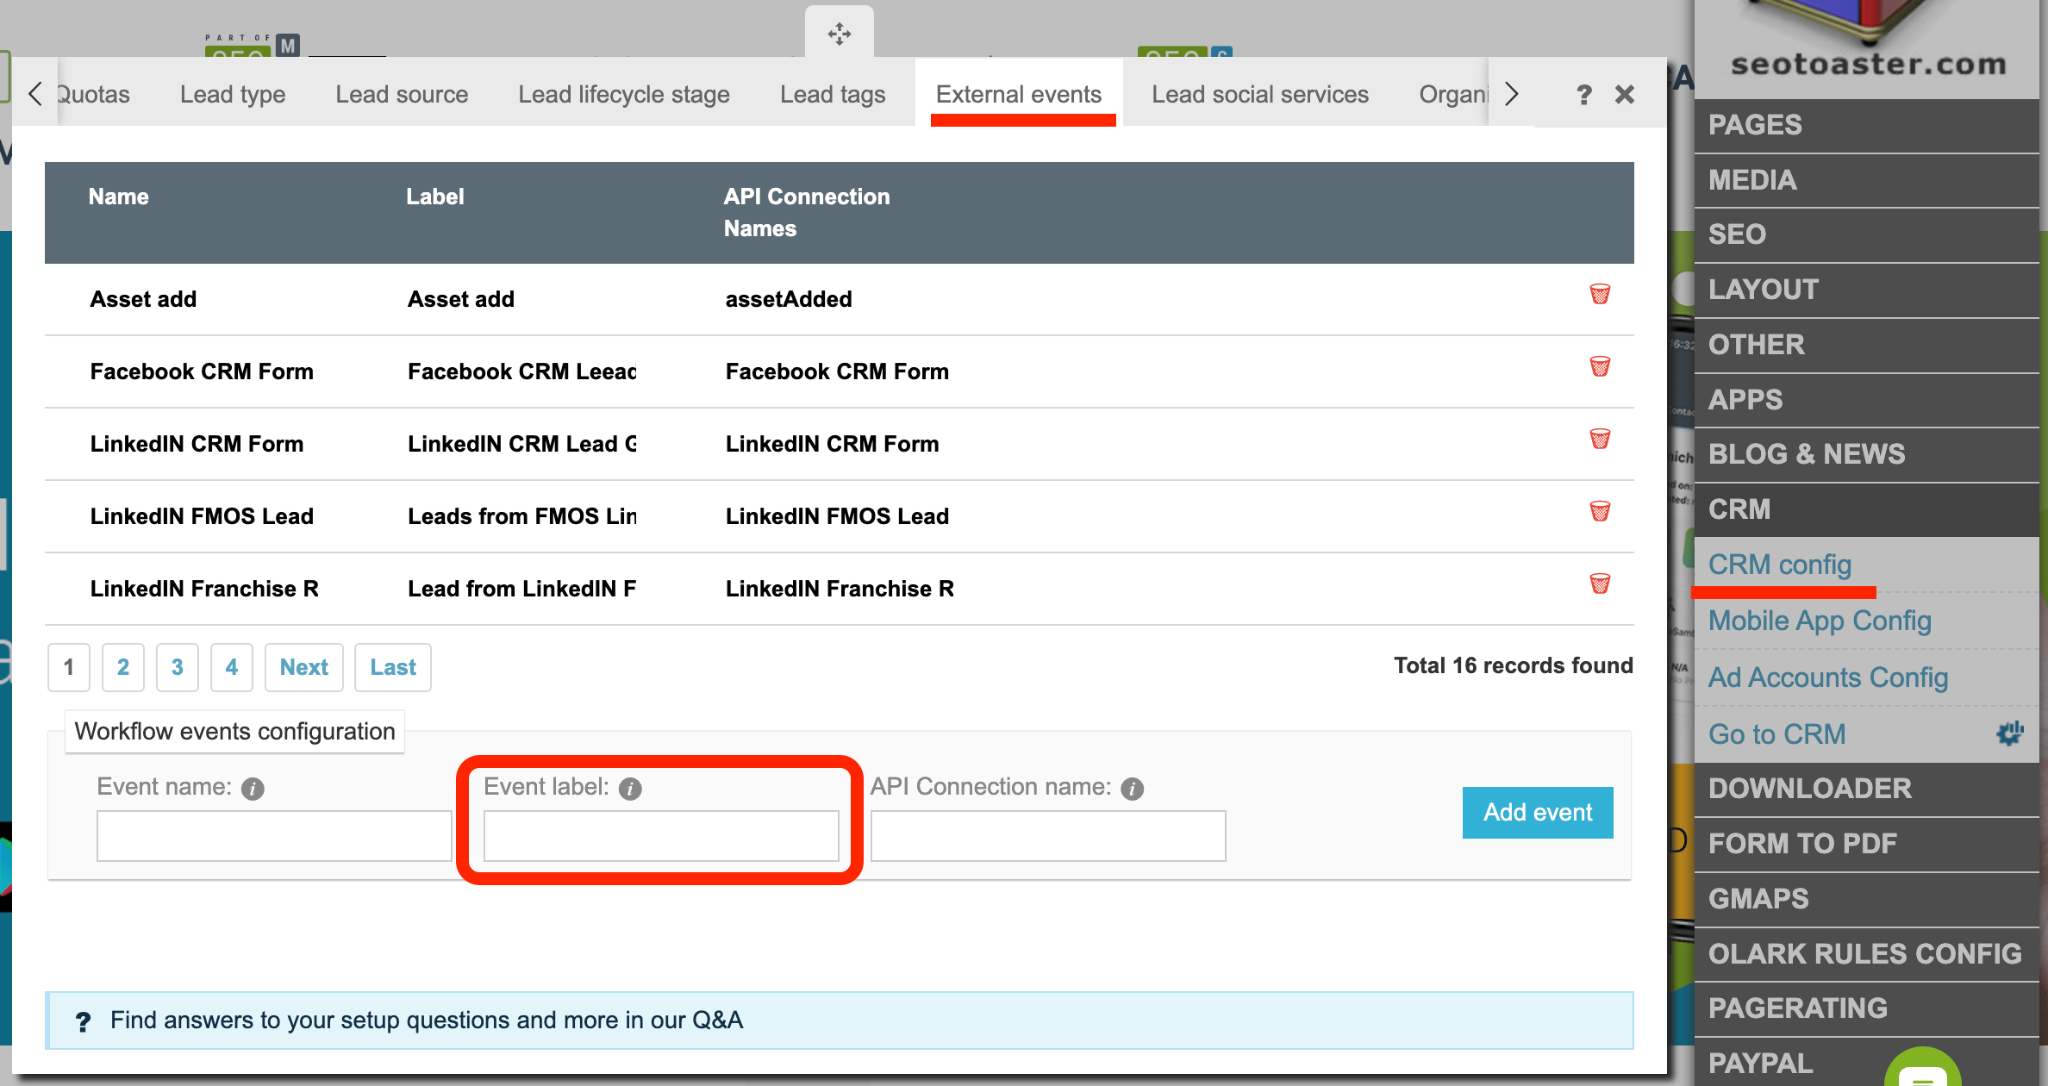
In CRM Config on External Events tab add a new event. Use this event's name in Zap configs in "Event" field.
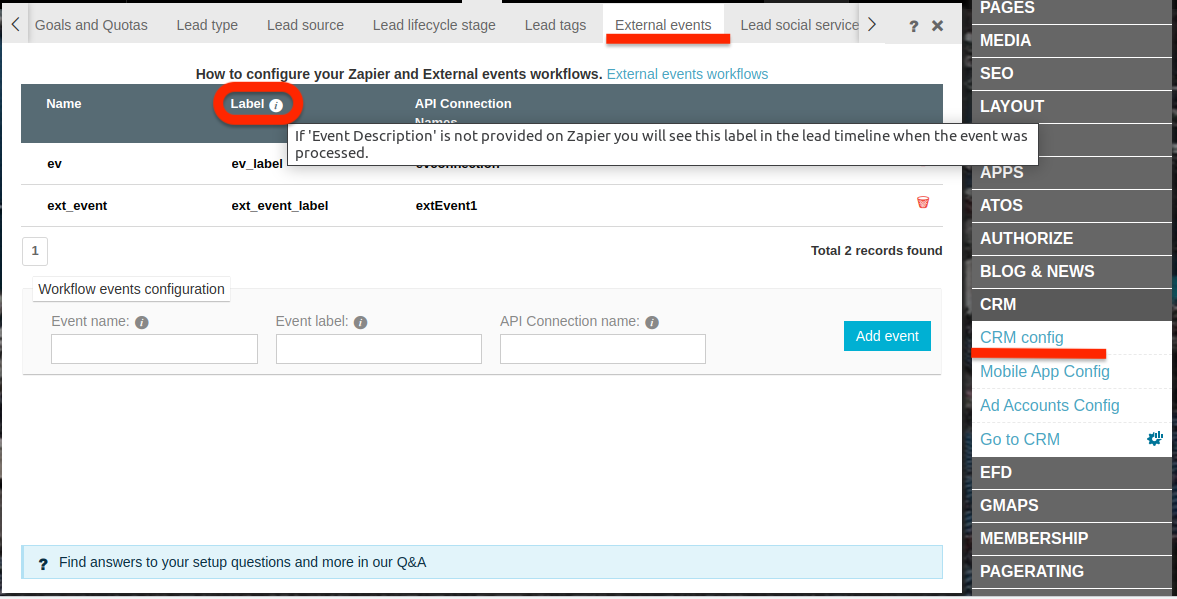
In case the event description iz Zap config stays empty, the label will be added to event description in the lead's timeline.
Please note:
"New Lead" Event in SeoToaster application in Zapier is an action, not a trigger. You can create new leads in CRM via Zapier, but not send information from CRM to other services.
Open your Zapier account. Click "Create Zap", select the application you would like to connect with SeoToaster CRM. For SeoToaster select Destination Action "Create New Lead" 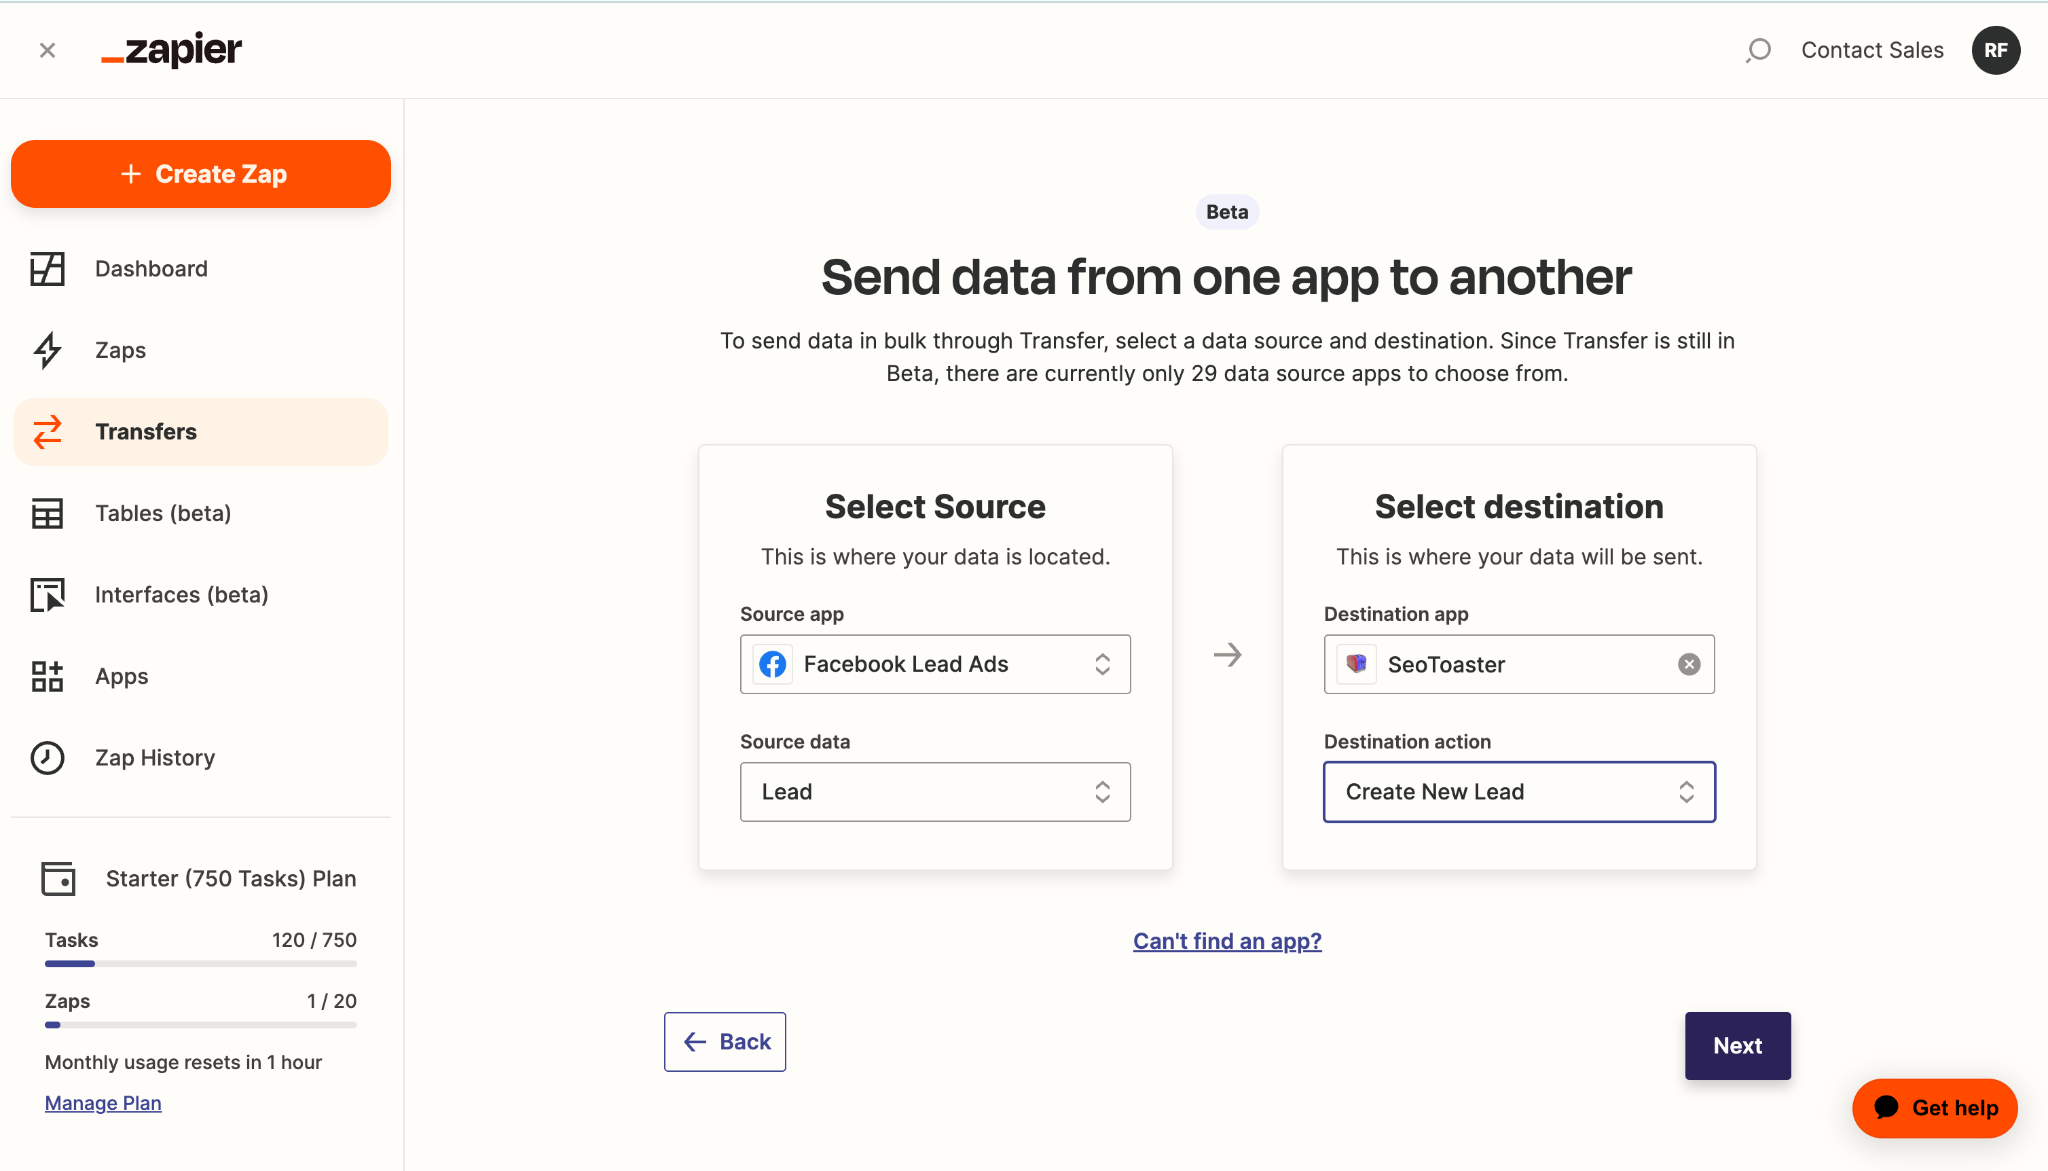
Click "Next" and select the relevant fields for populating your Lead's data.
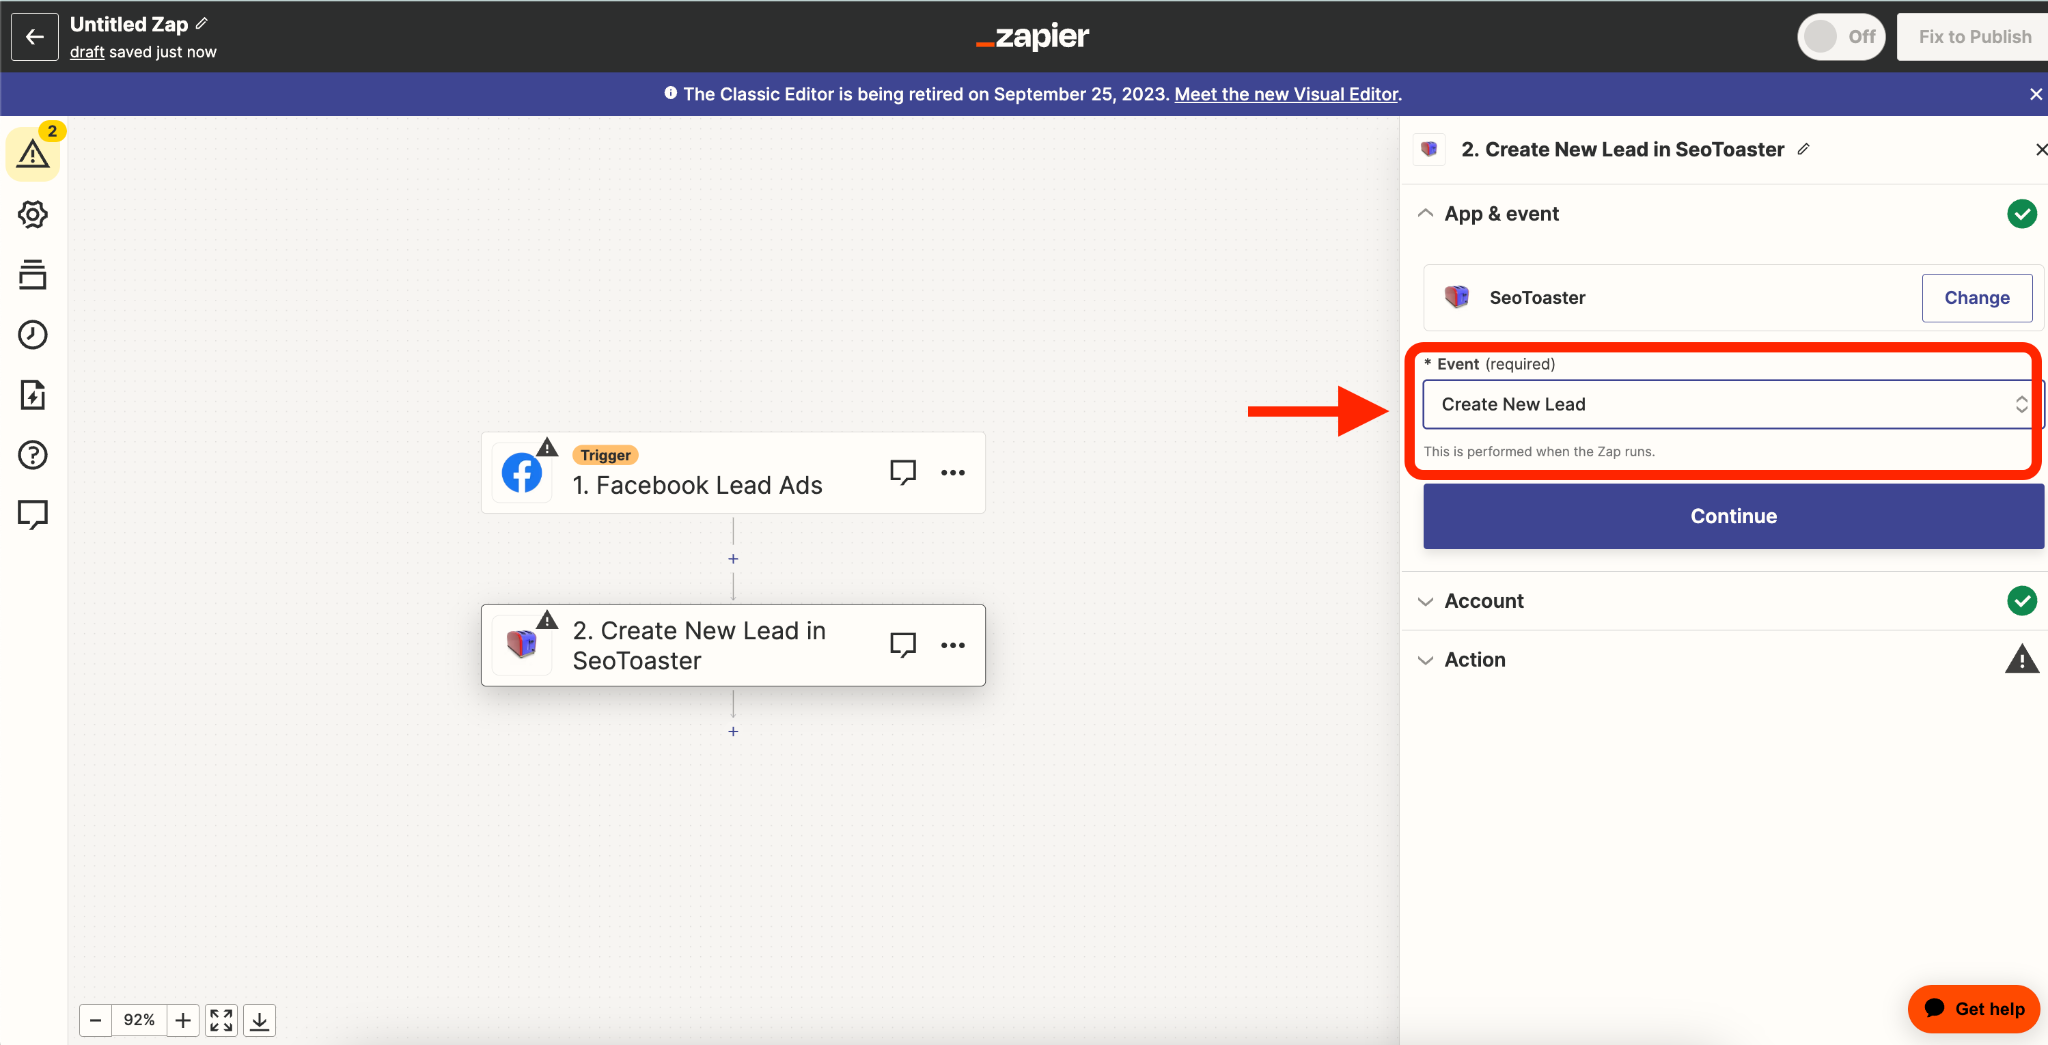
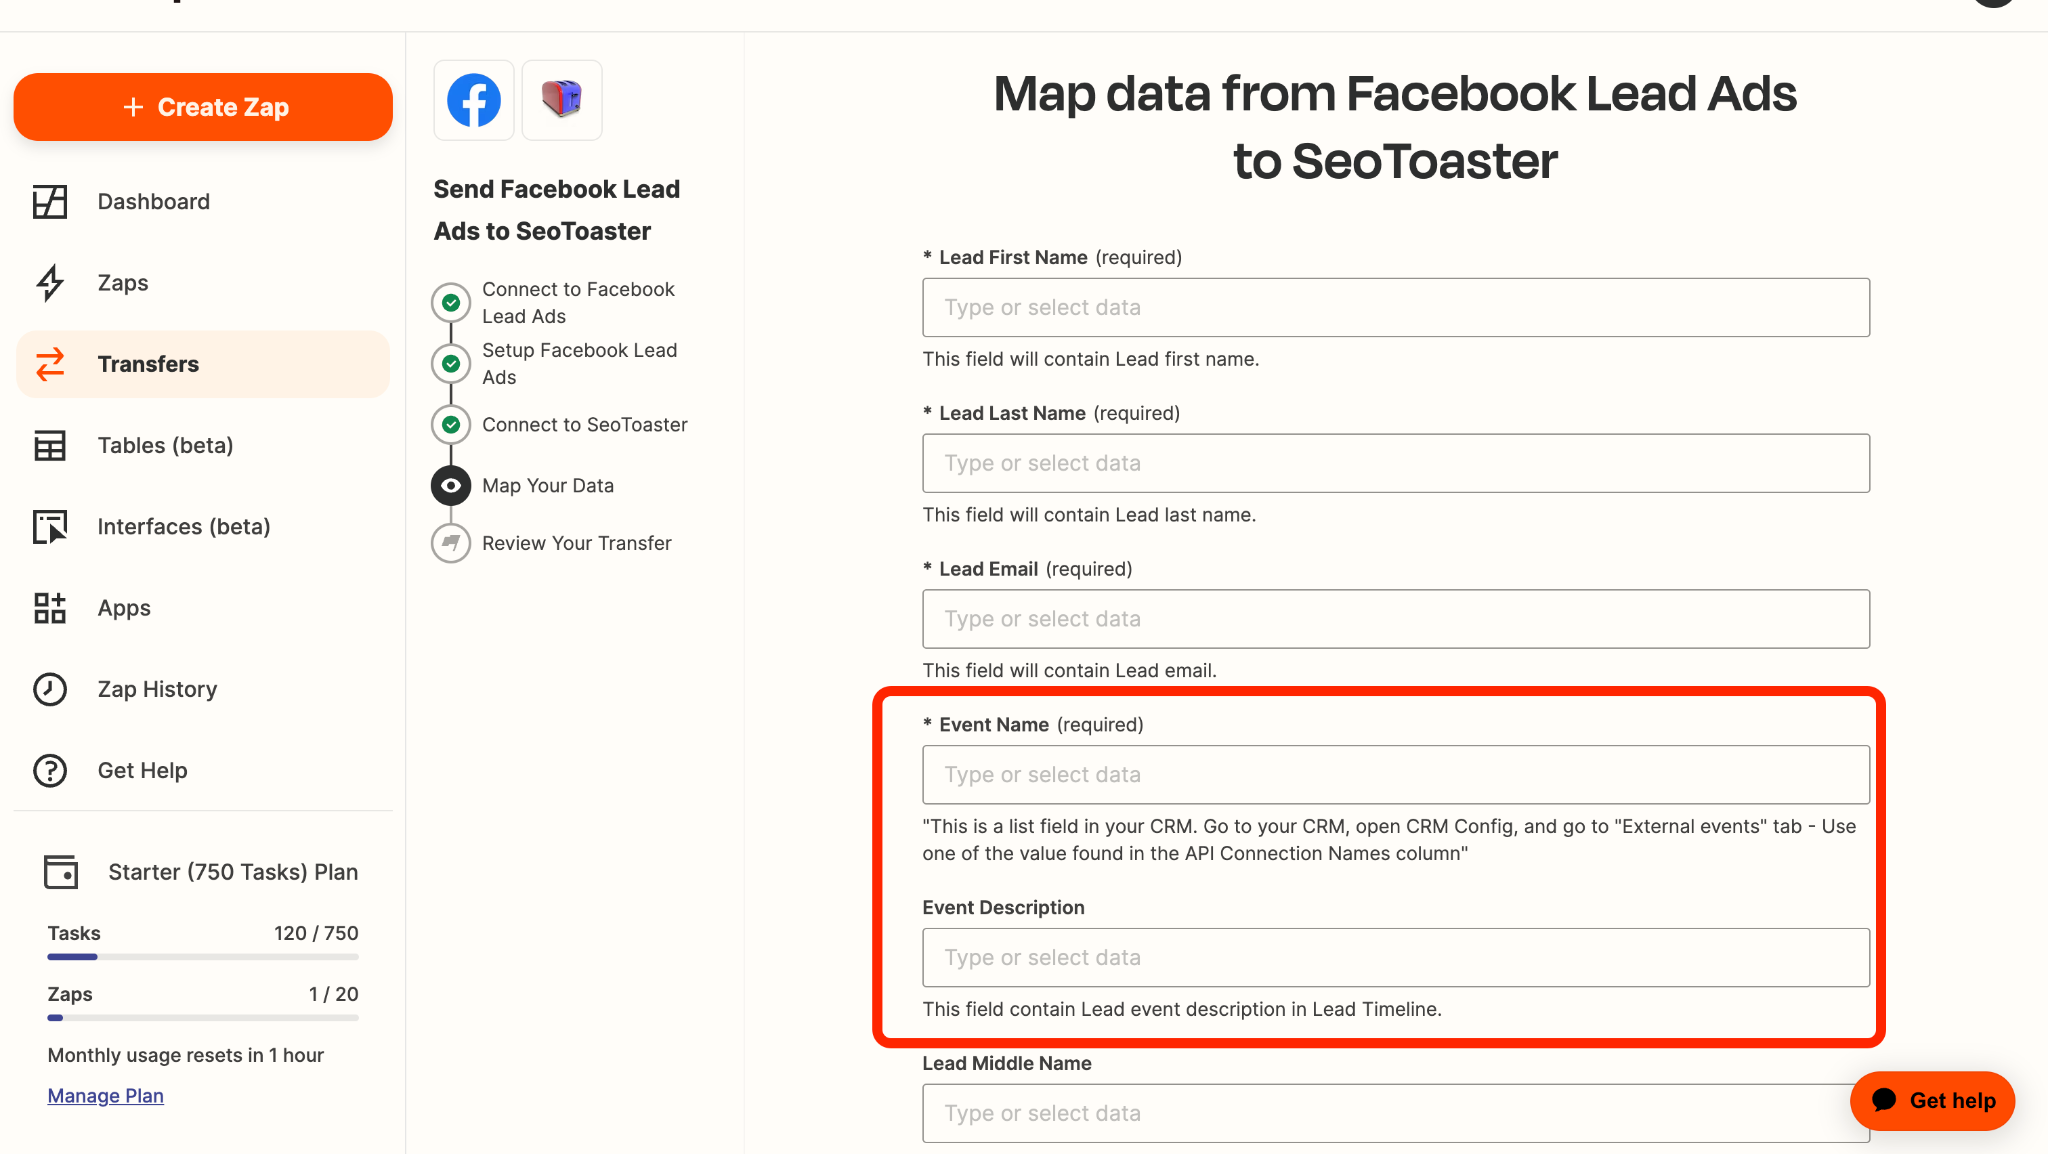
Make sure to add Event Name and Event Description. Event Name will be used as a lead source in your CRM and Event description will be displayed in your Lead's timeline, helping you to recognize how the lead was created. 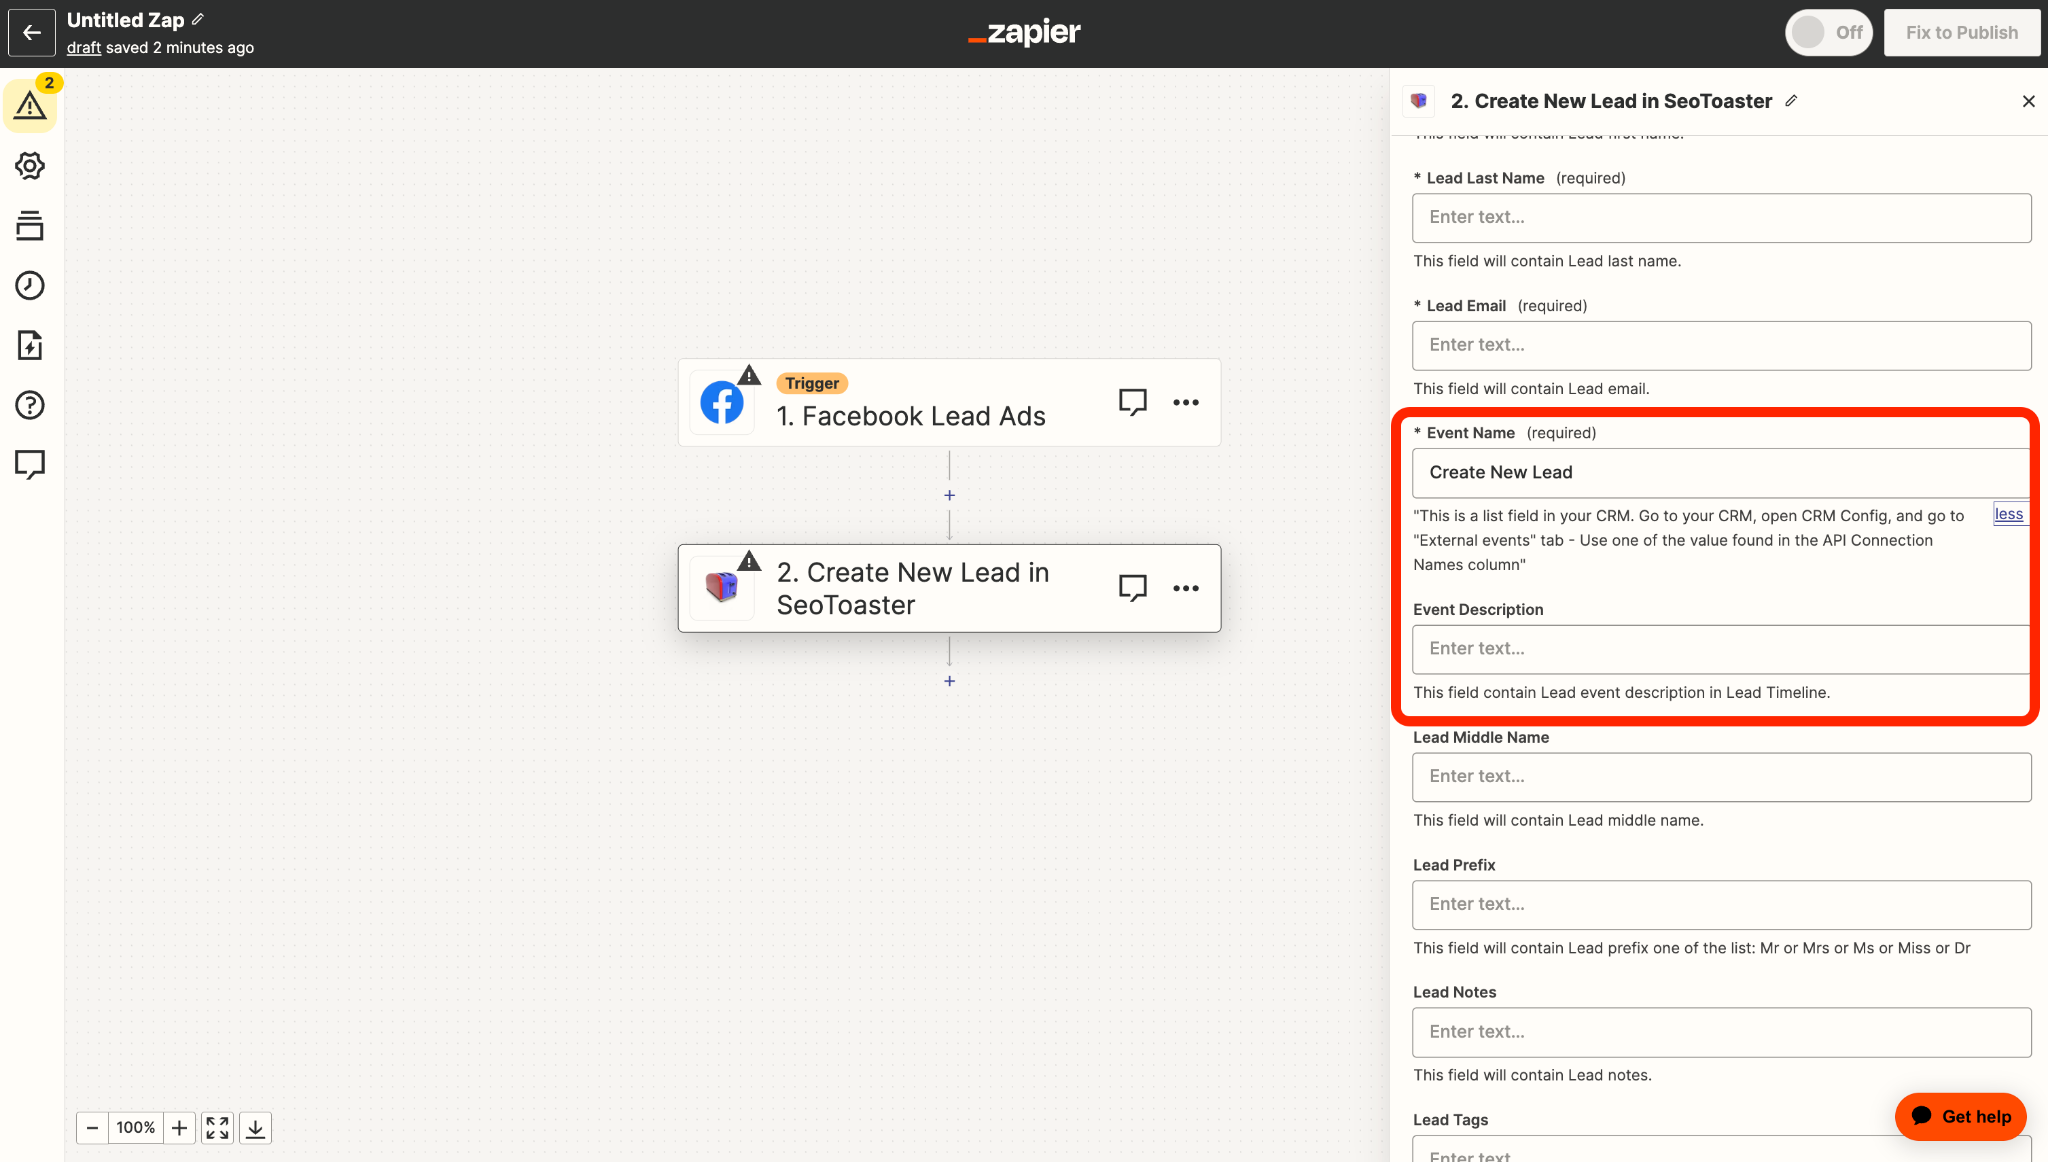
Make sure you use the same External Event name as in the Lead's config, "External Events" tab: 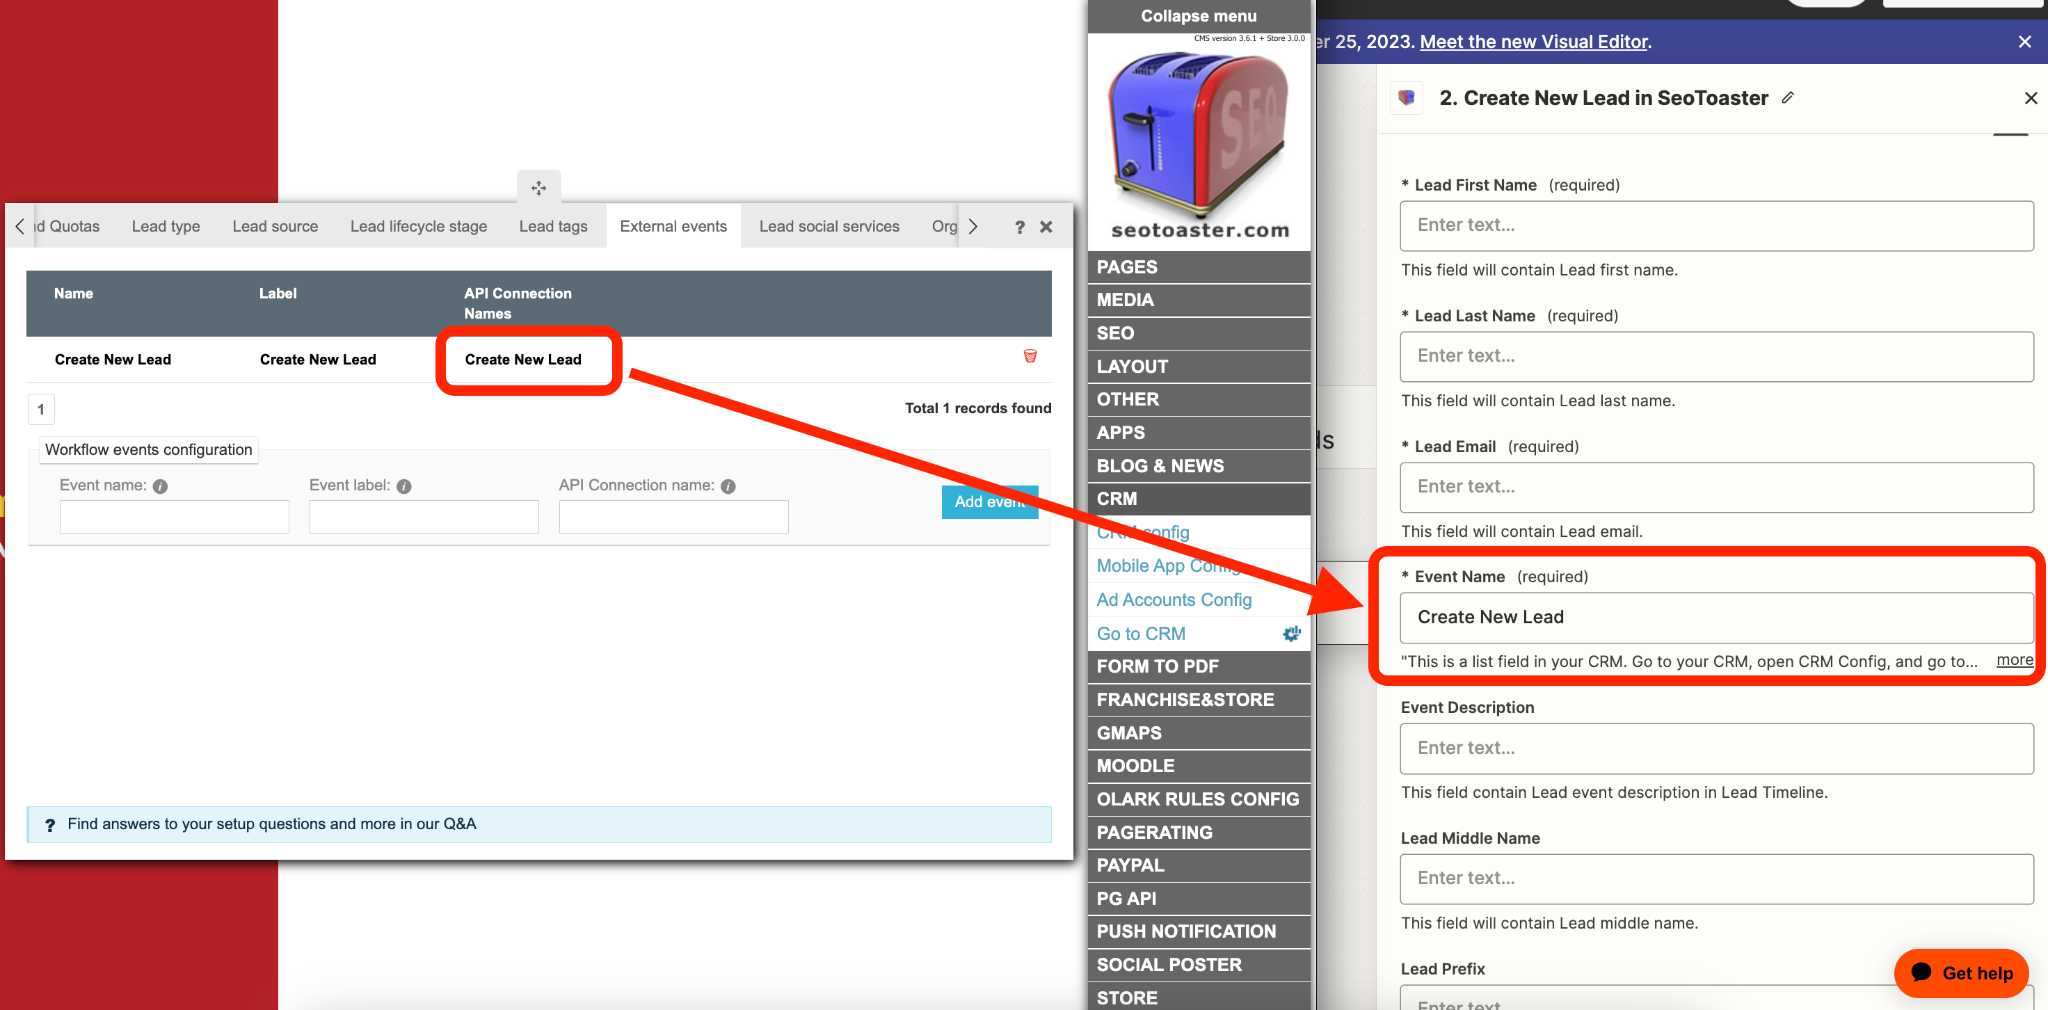
Once you have created and published your Zap, It's important to map your data, open Transfers to schedule Zap runs.
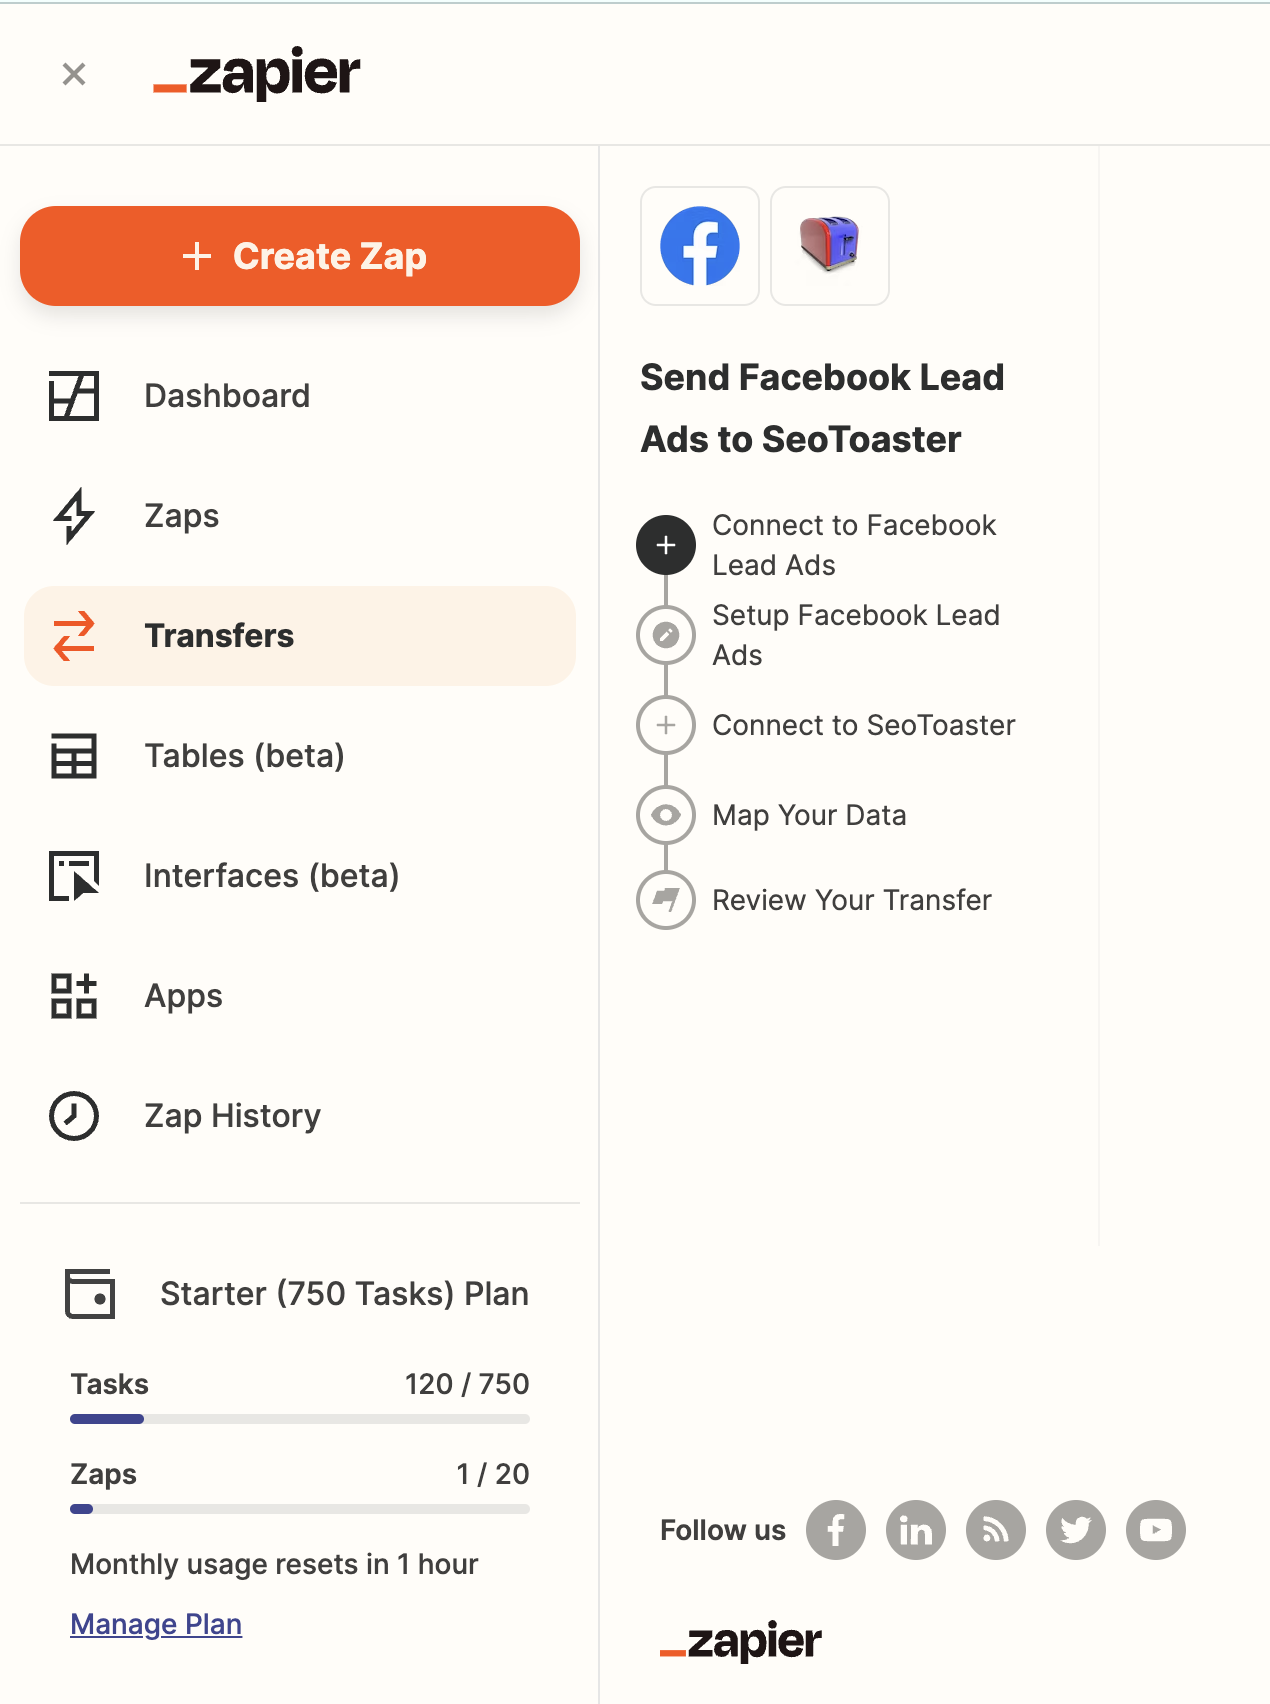
You need to set up lead mapping. Go to Transfers, click "Create New"
Go throught all stages, click "Next" until you reach "Map Your Data" stage.
Here you will need to connect all fields the same way you did while creating a zap. Pay attention to Event name and Event name description, they need to be identical to the ones you used in your Zap. Event name has to be the same as in the Externel Events name in CRM configs.
After you mapped your data, click "Next" Review your transfer, click "Looks Good". Then you'll need to schedule your transfer. Now your Zap is set up.
Remember to test both Zap and Transfer to make sure leads create in CRM.
Once you have set up a Zap, open Lead External Events and Add the Event number you used in Zapier as the Event name: