Creating engaging and relevant blog posts is a crucial aspect of any successful content marketing strategy. However, the process can be time-consuming and resource-intensive. SeoSamba's new AI-driven capability aims to revolutionize this process by empowering marketers and businesses to efficiently craft high-quality blog posts that resonate with their target audience.
With SeoSaba MOS you can create a blog post that you will later share in your social media and send as a newsletter in one click using MOS tools. And AI will provide content and the best keywords to spell out your message.
Follow these simple steps:
1. Open your Blog editor and click "Create post or Press Release".
Add the Blog teaser image, title (use AI to help you!) and teaser text. Select #tags from the library or create a new one.
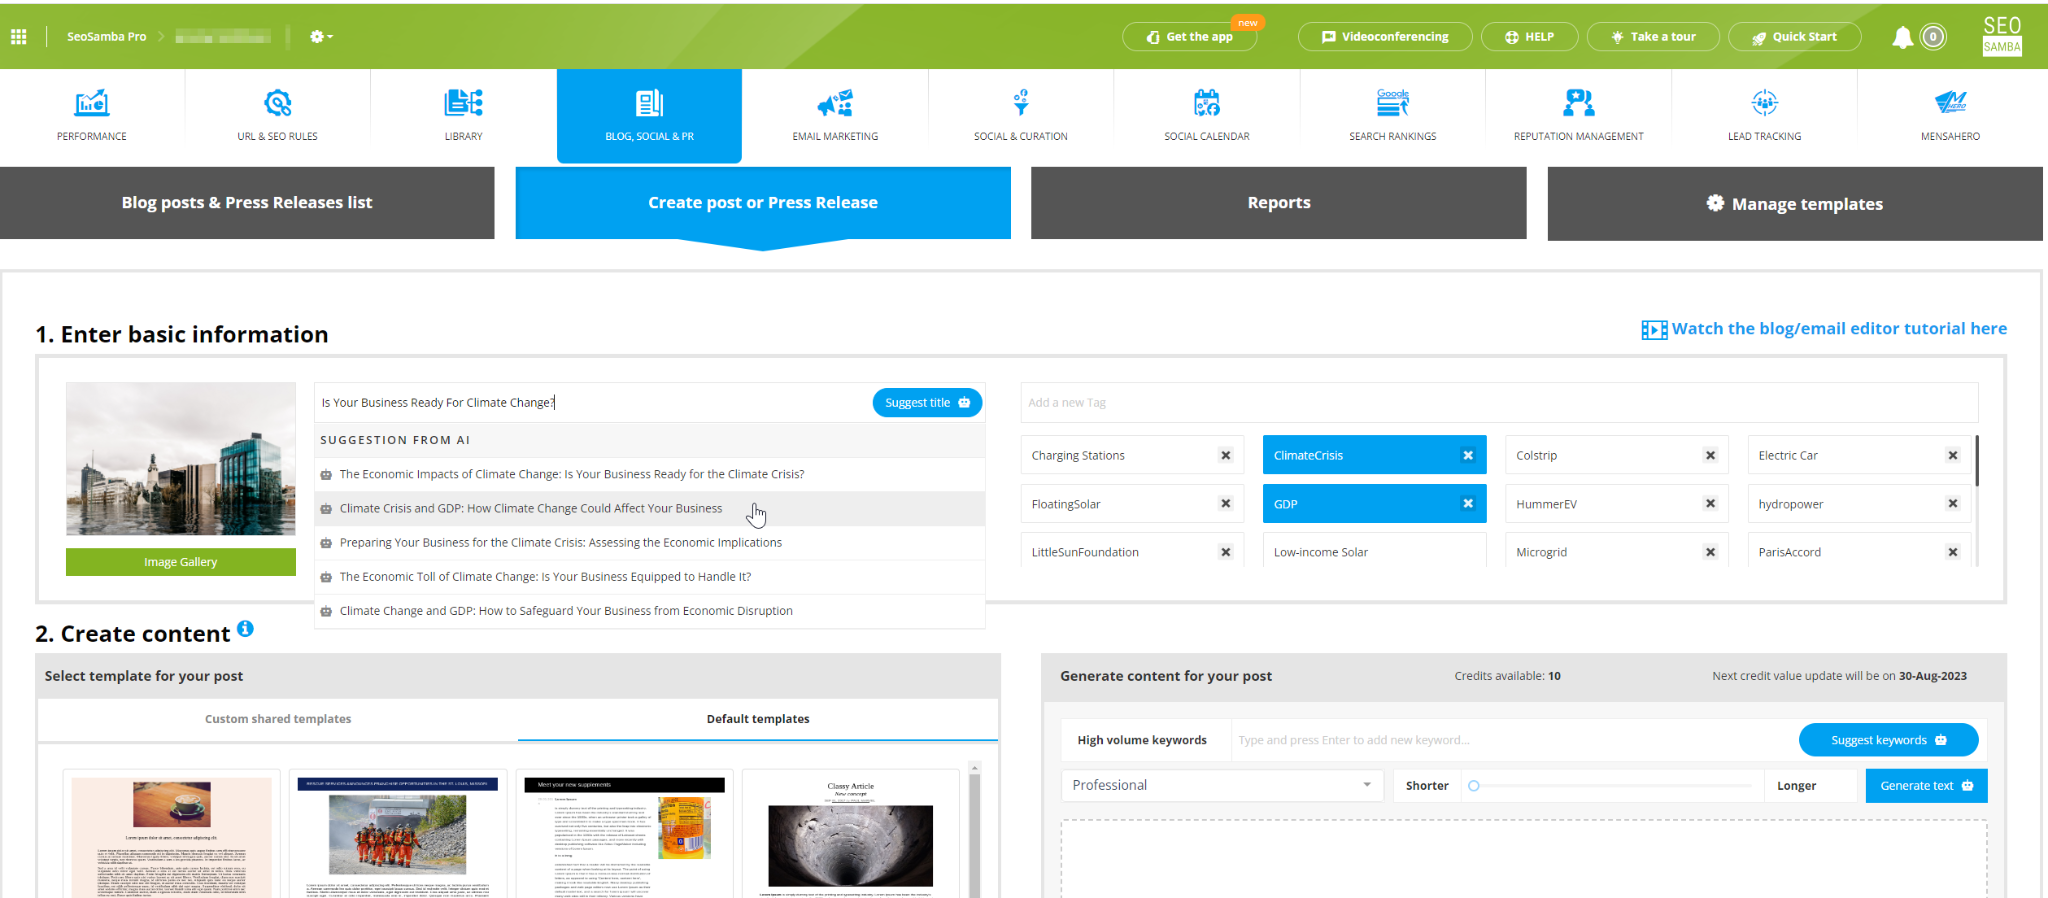
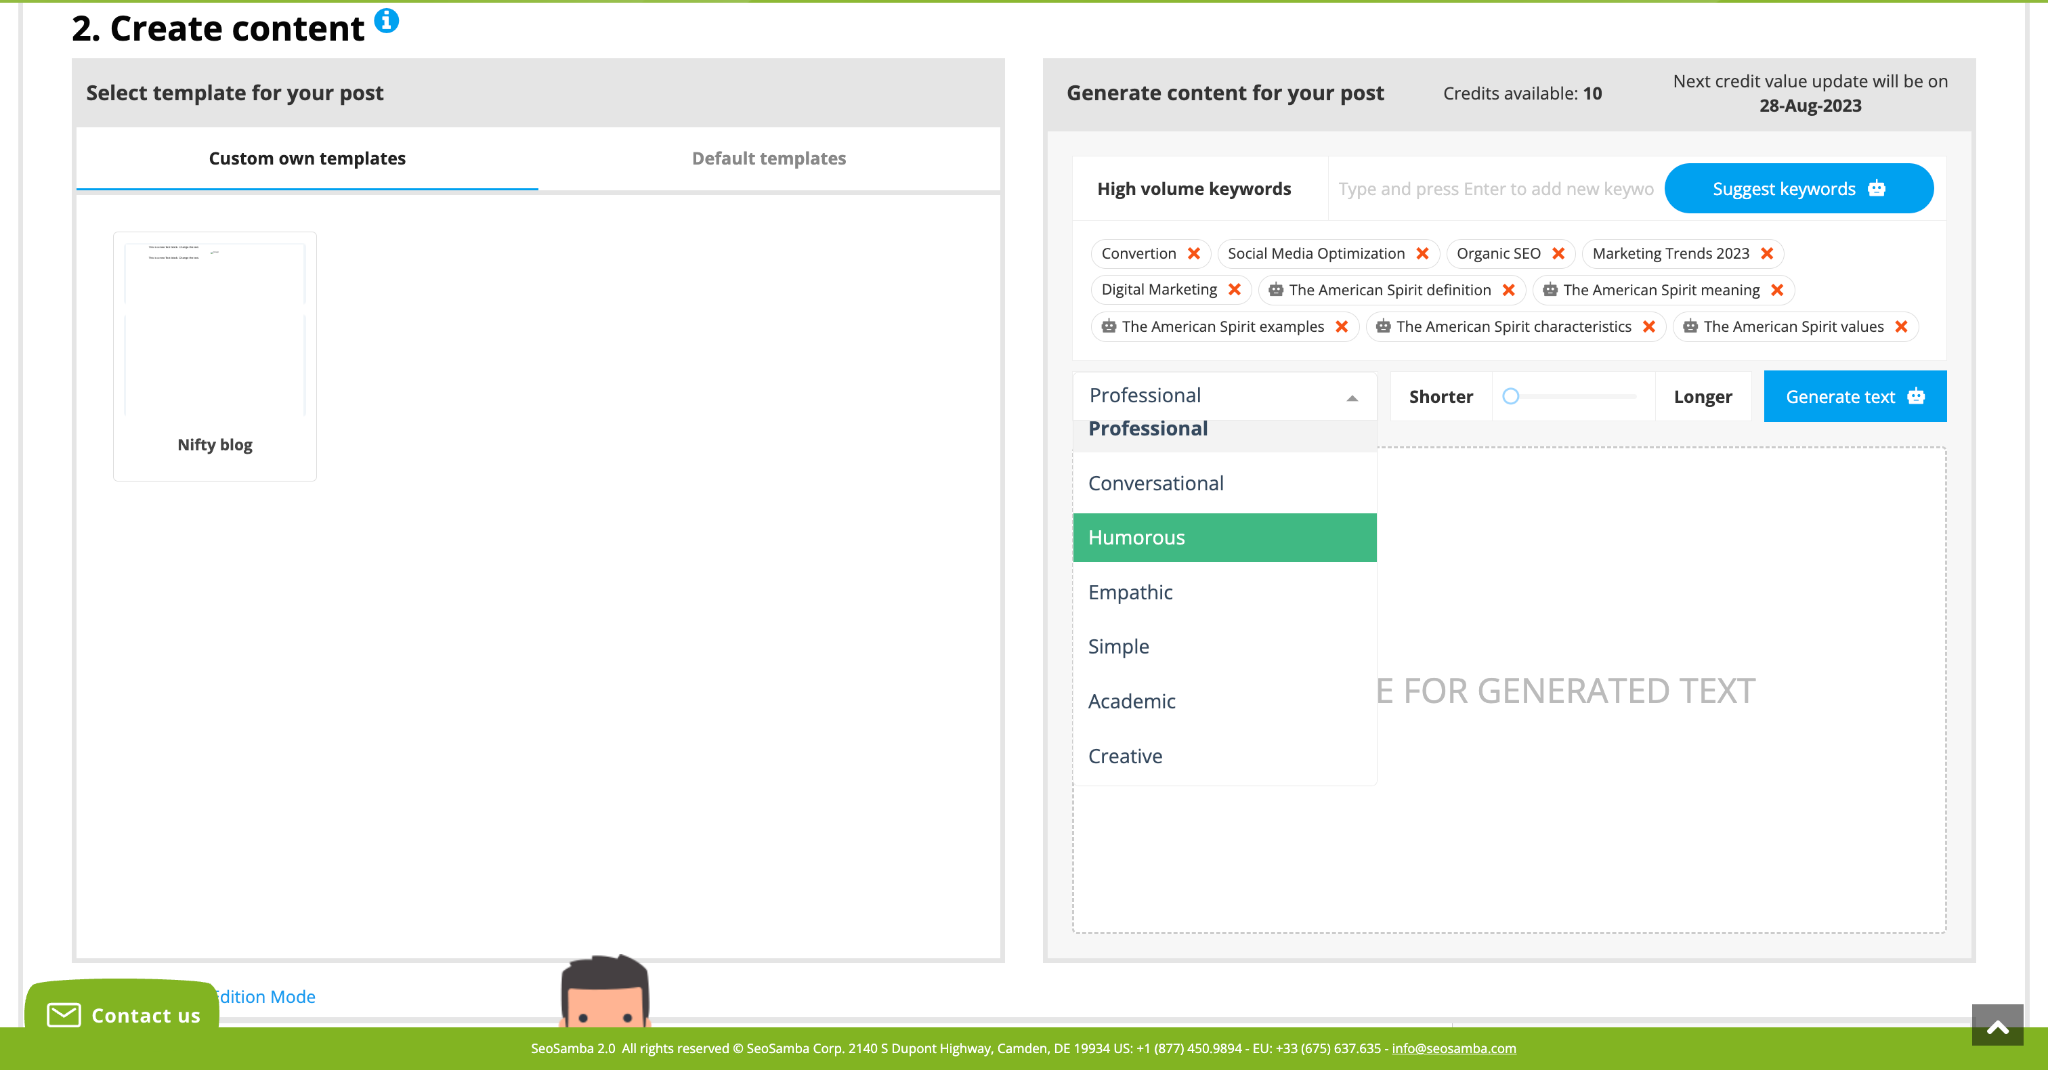
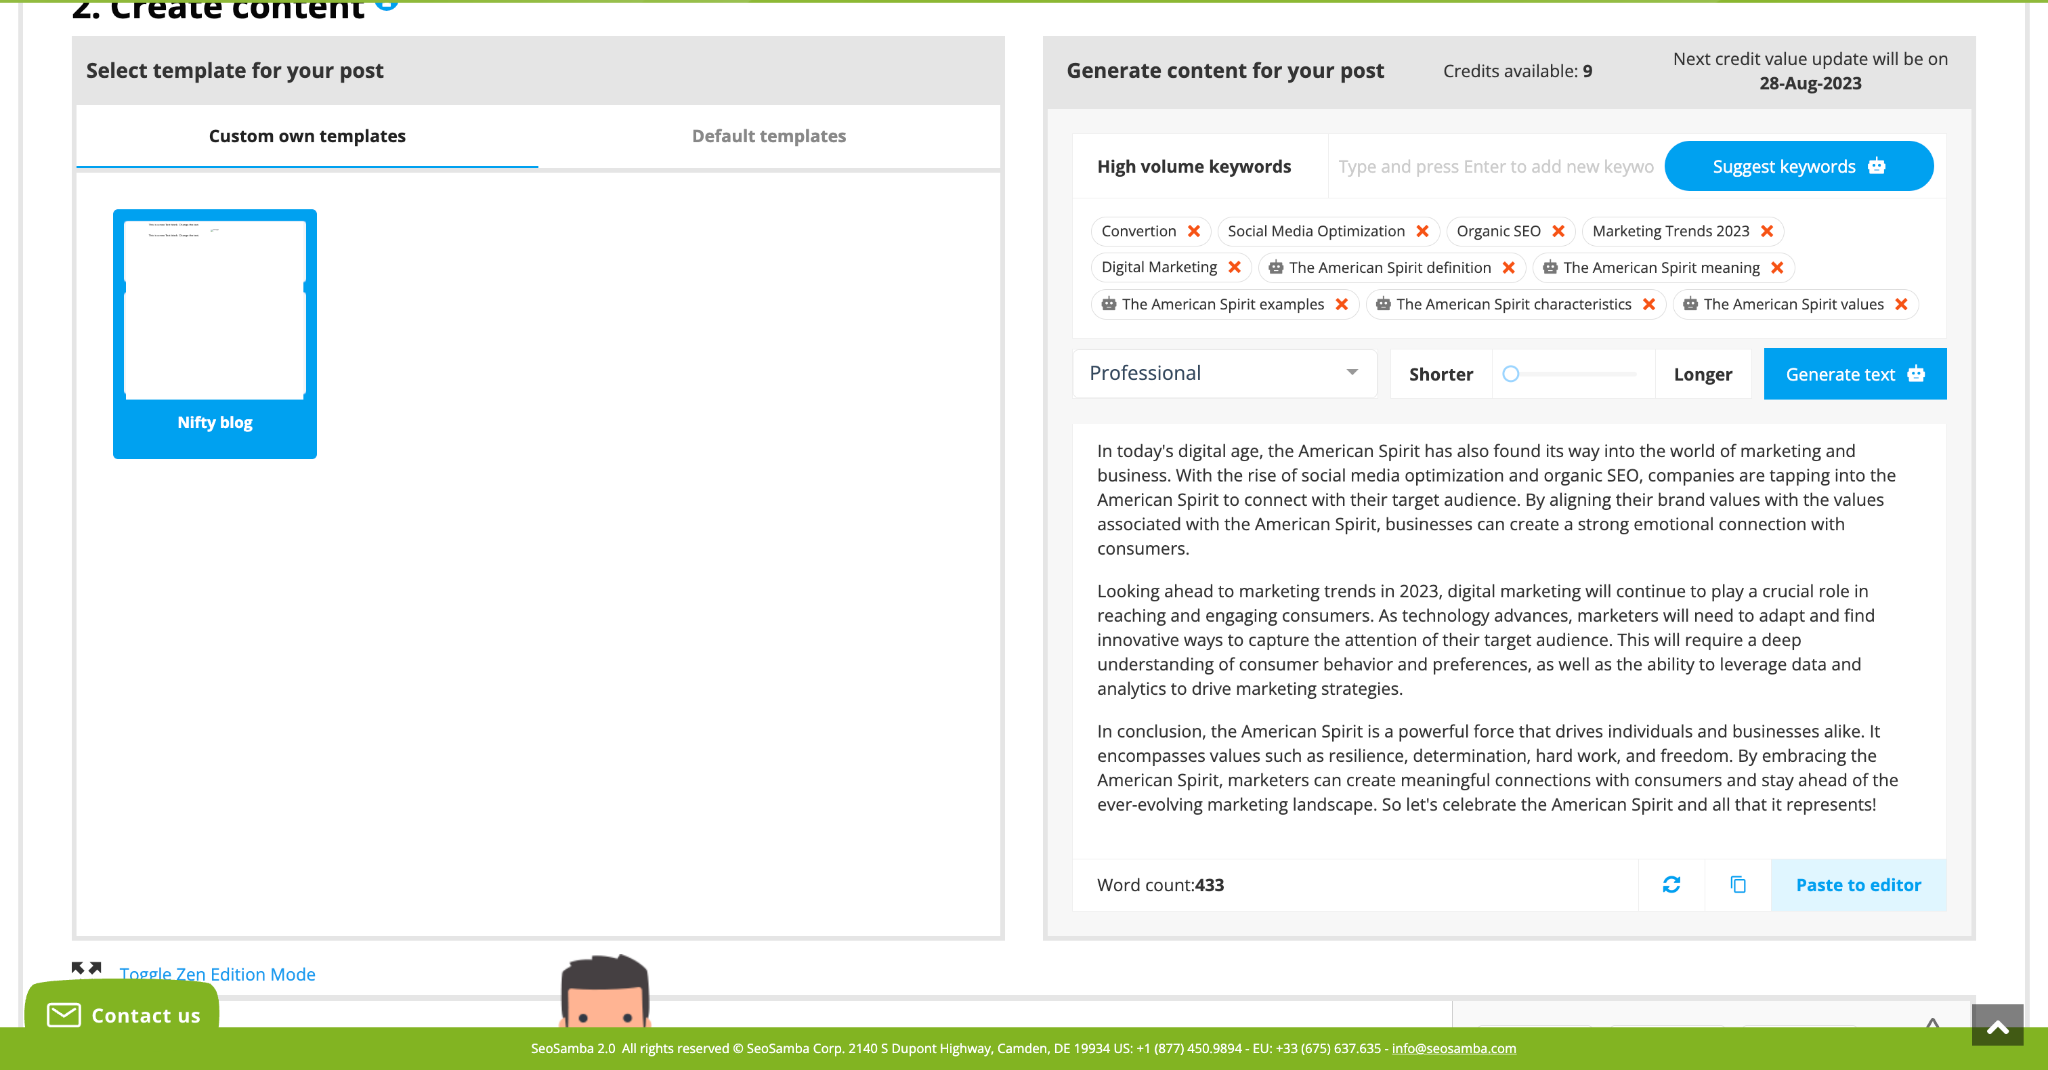
2. Now it's time to Generate content. Add keyword, hit "Suggest Keywords" to get more of them. Select the tone of voice and the length of the text, hit "Generate Text"
3. Edit and improve the text AI generated for you, if needed, select blog post template and scroll down to find "Paste to editor" button.
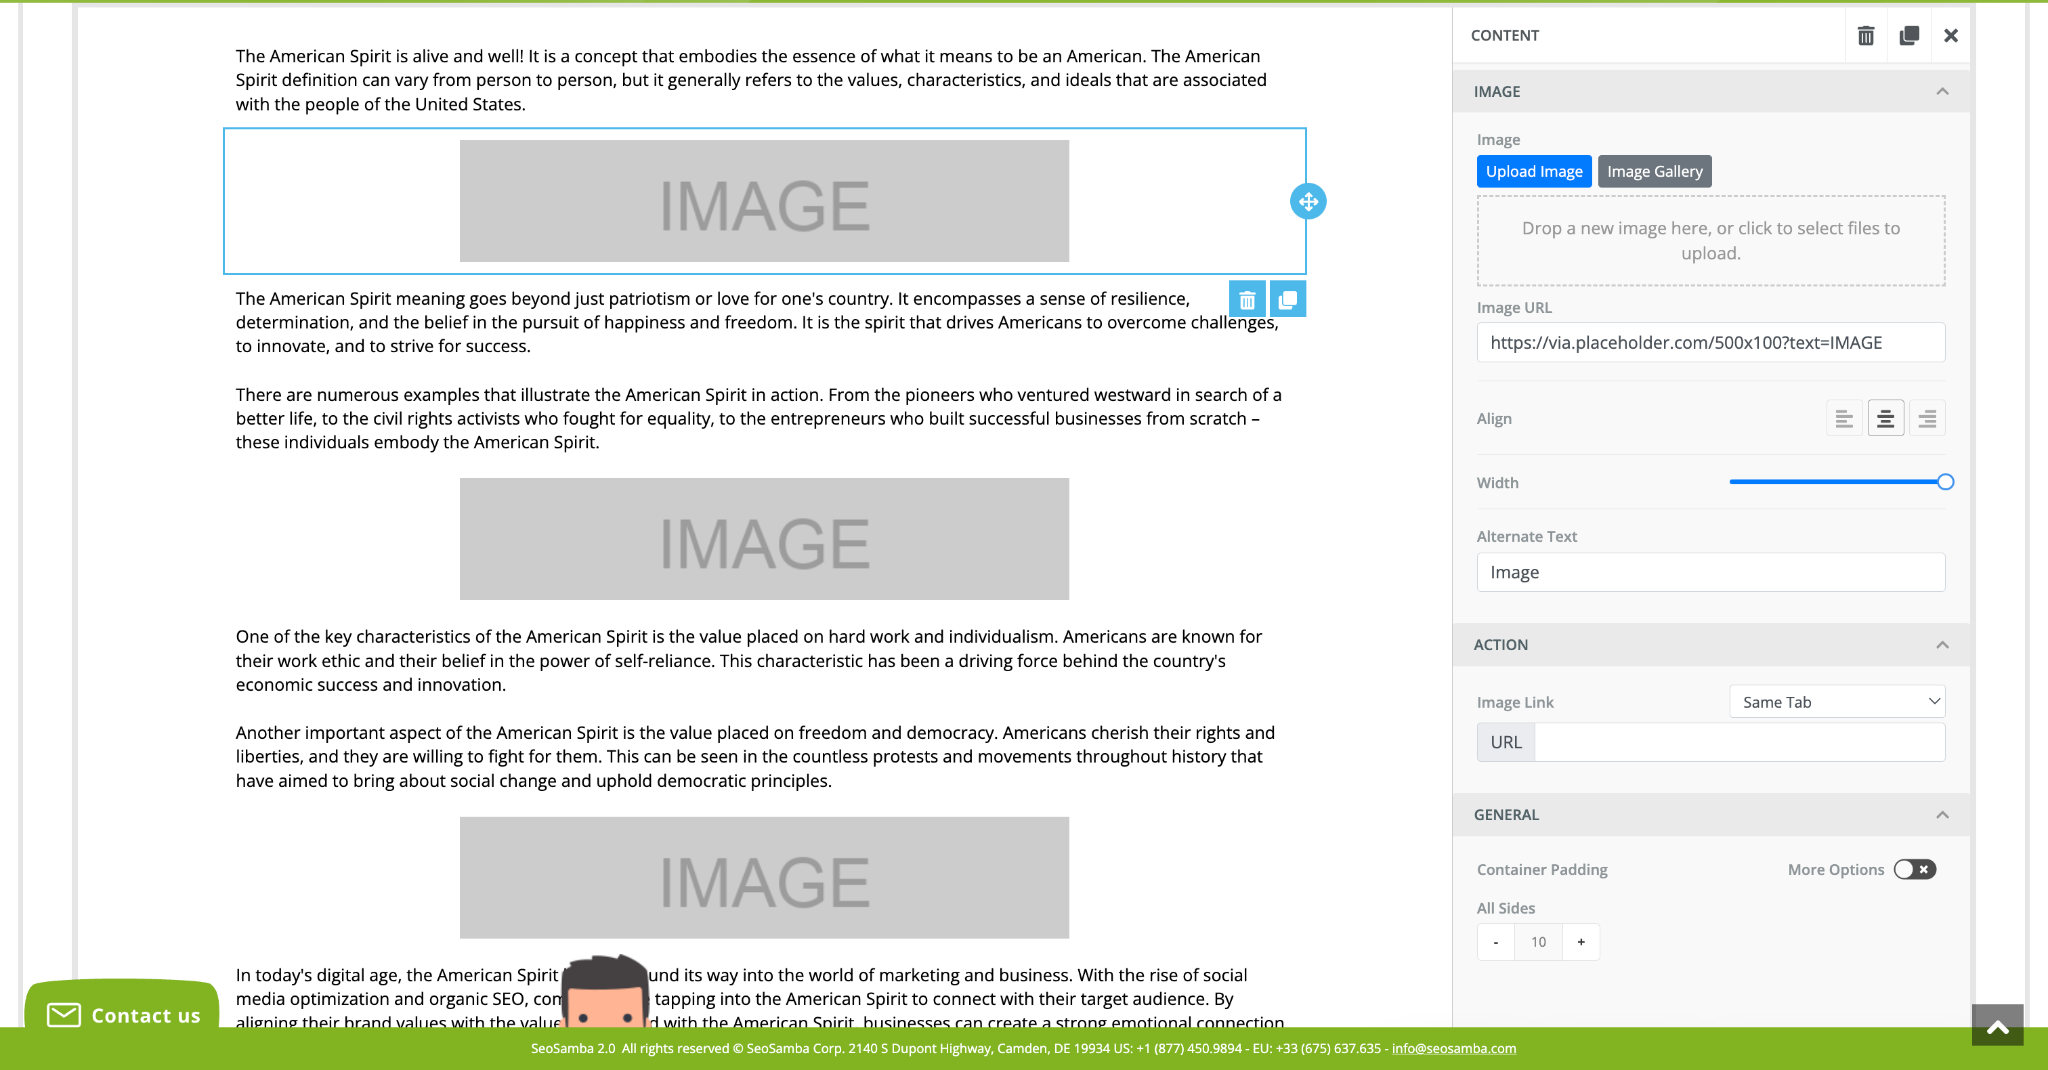
4. Once your text is in place, use Seosamba Drag and Drop editor to adjust the layout and add additional elements such as CTA buttons, social accounts, and images to illustrate your post.
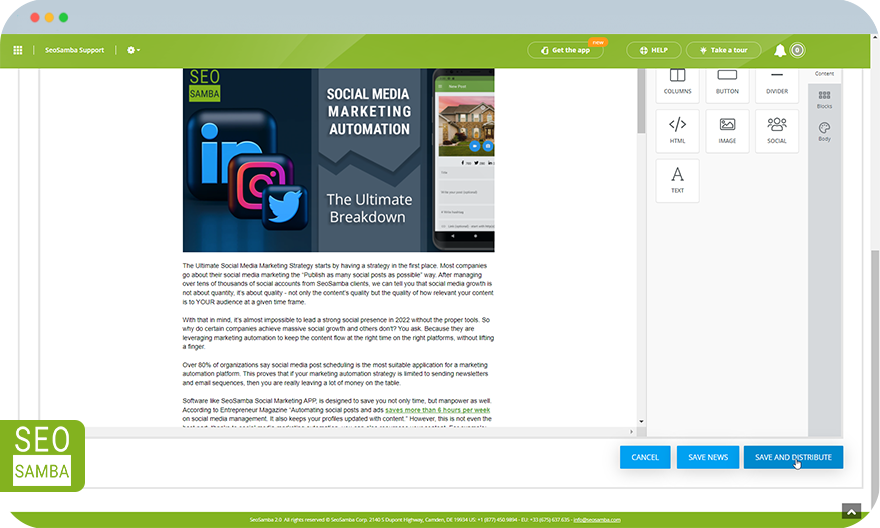
When your news post is ready, you can proceed with publishing. You may save news or save and distribute
Having clicked save and distribute, you’ll be taken to the next step:
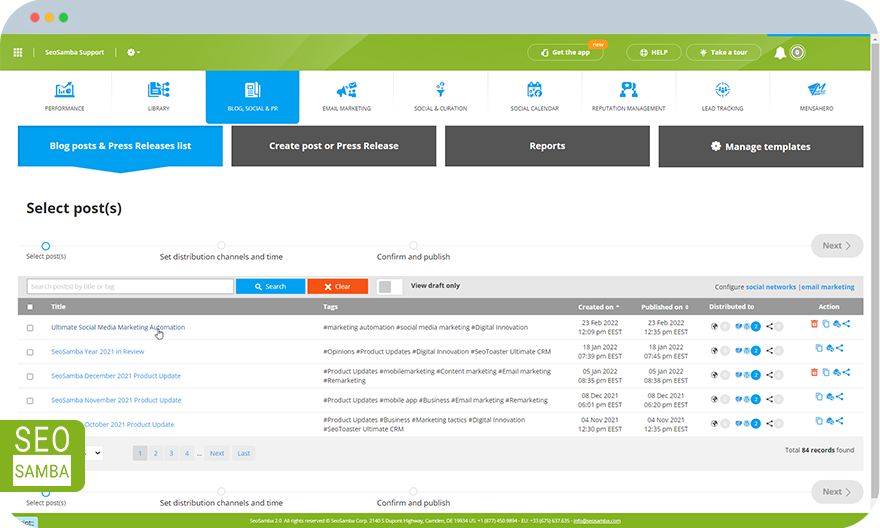
Your list of websites and PR distribution channels will appear after clicking the news post row
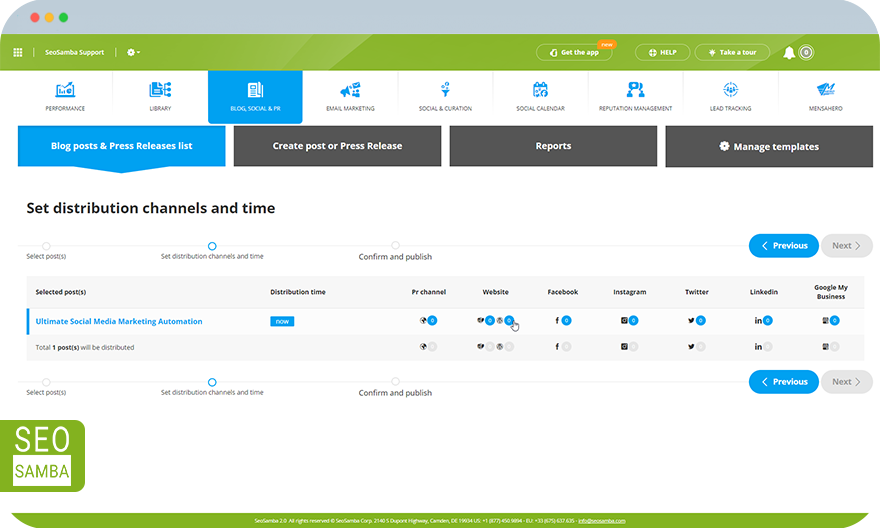
You select your website (your blog) if you have more than one you can pick and choose by clicking the different boxes.
On the far right, you can select the corresponding social accounts that are associated with the website that you may want to share to. For clients that have multiple websites you can also have dedicated social pages/account associated with each.
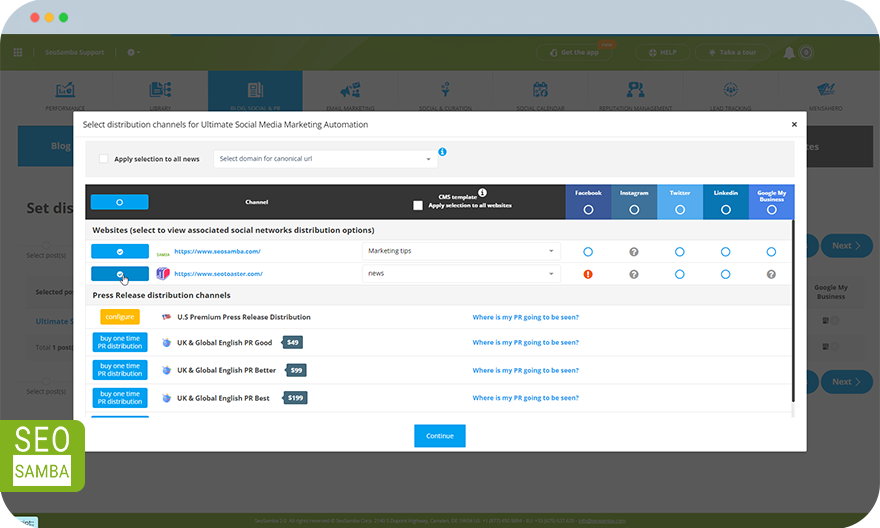
In social media columns you can see different icons, where:
 icon indicates that the news will be published in this network.
 means you’re connected but it was not selected for sharing.
 icon indicates that the news will NOT be published in this network as you still need to connect your account to our platform. You can do so by simply clicking the icon.
 Icons indicate that your security token has expired. Click to reconnect
Facebook and Linkedin tokens expire every 60 days. To obtain a new access token simply click on the icon and you’ll get to this window where you have to re-connect to the expired network:
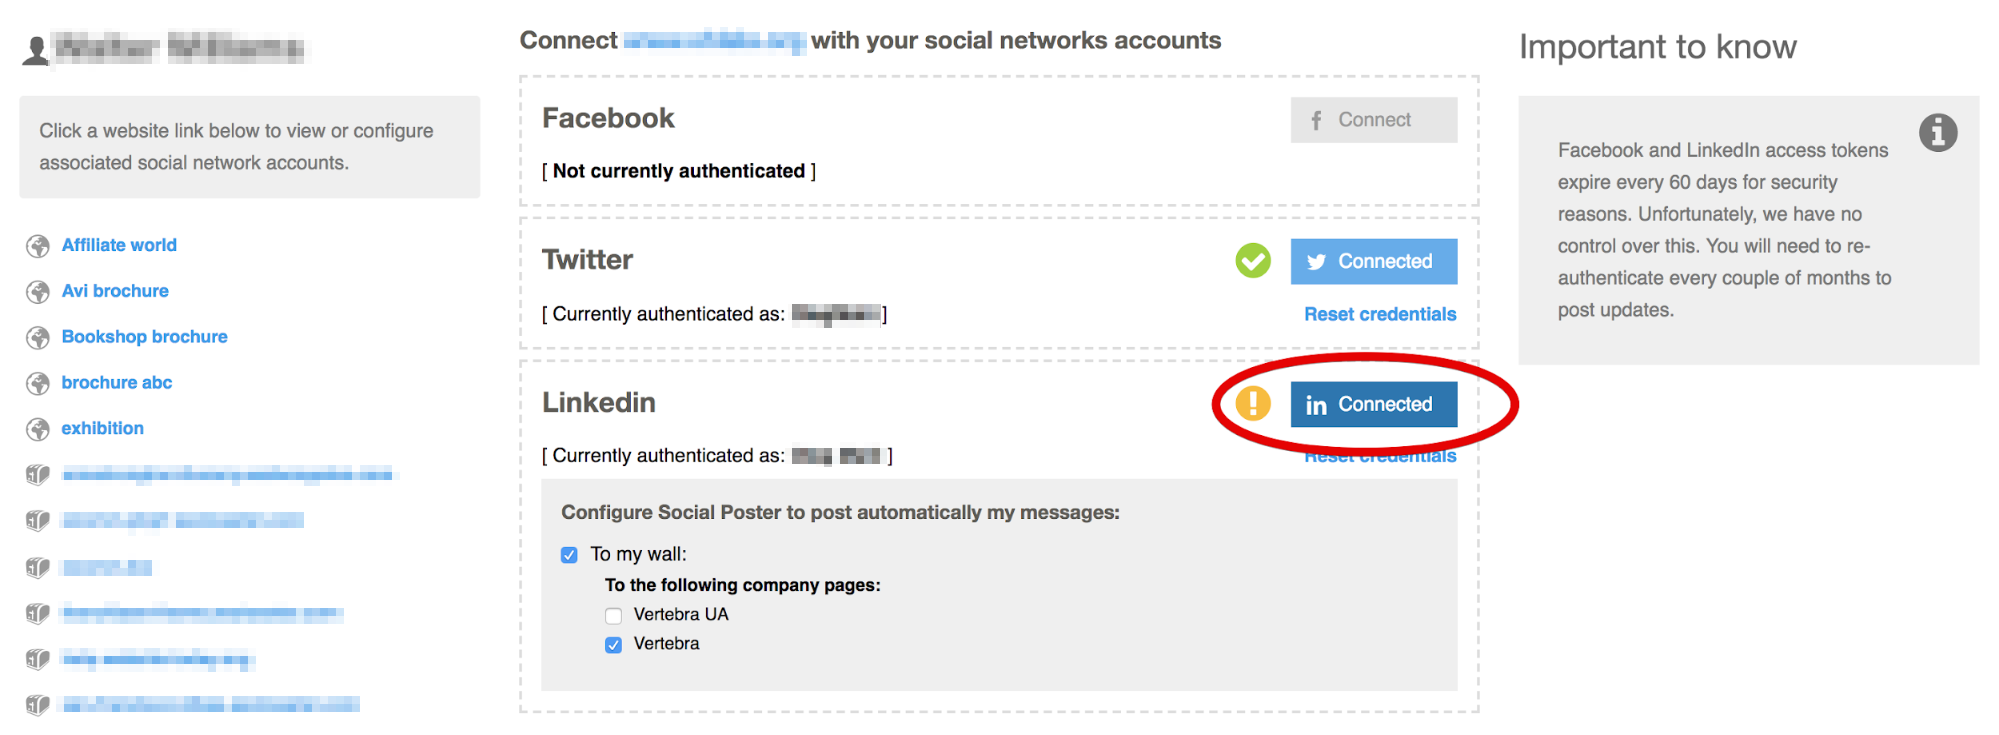
This requirement is not on our site but on the social networks. The alert system will remind you to reconnect your social accounts when approaching the expiration time and when the tokens have already expired.

Basic & Premium Press Release Distribution, UK & Global English PR and Communiqué de Presse en Francais are the PR channels where Basic & Premium Press Release Distribution requires special setting for news distribution:
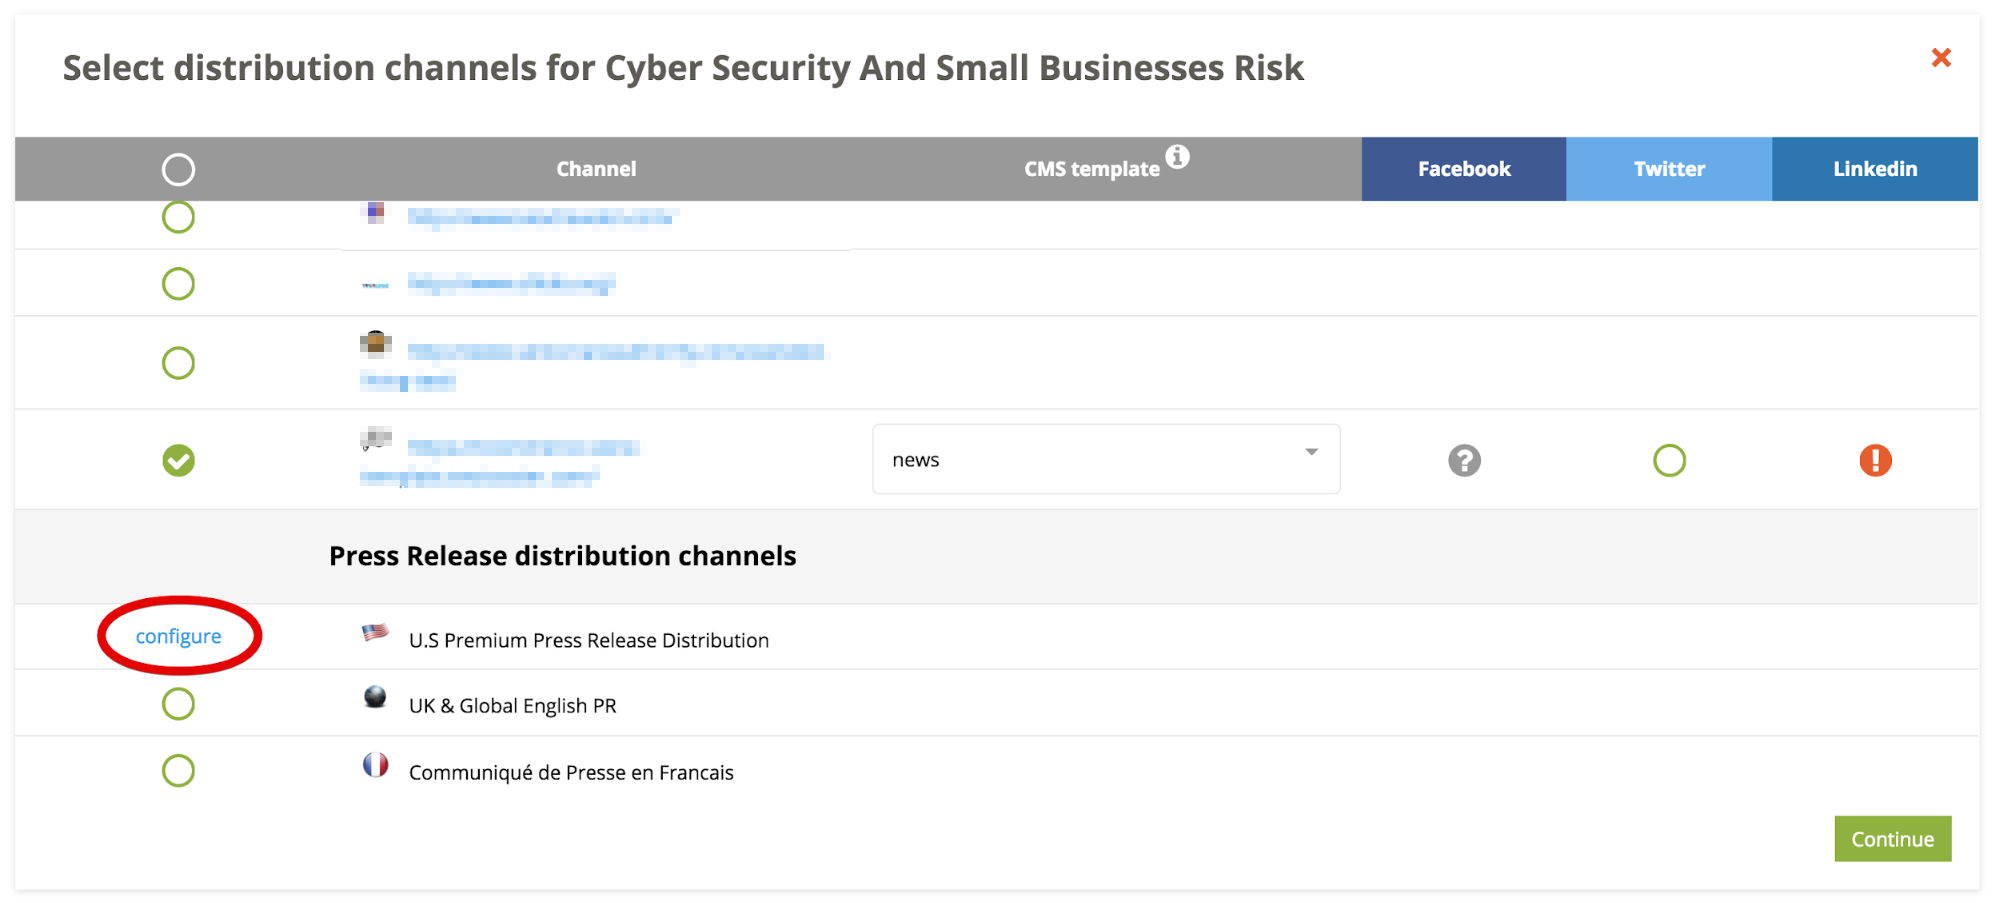
You have to select country, category and from 3 to 12 tags for news distribution. Pay attention to the requirements in the black box:
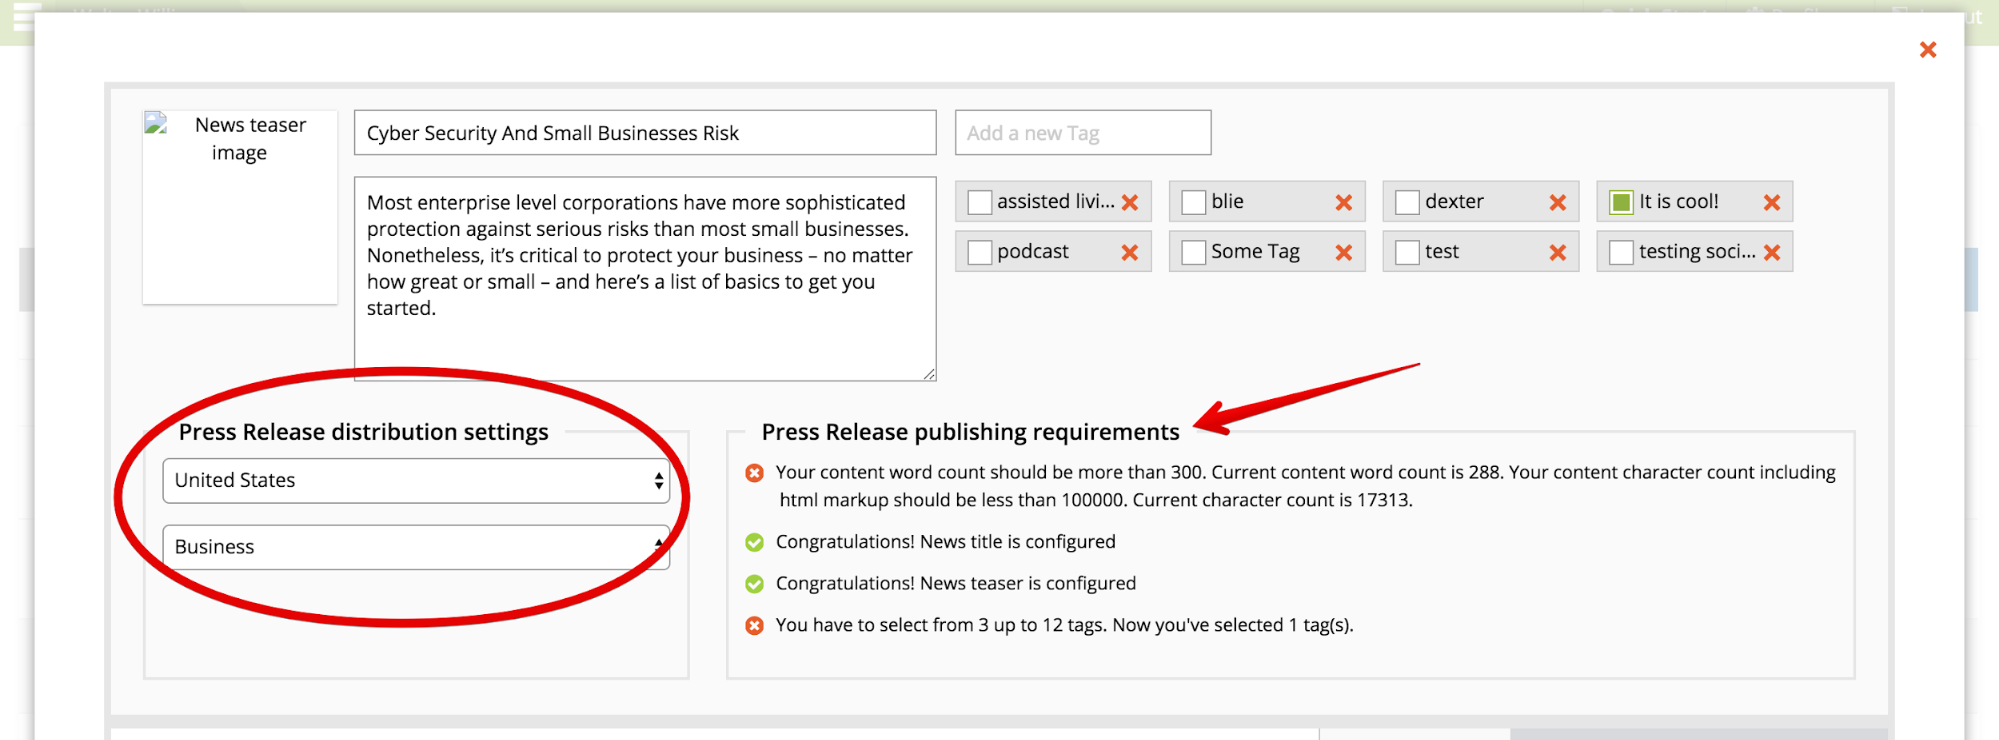
After you do complete the changes then сlick continue to return to the previous screen where you can also select a distribution time.
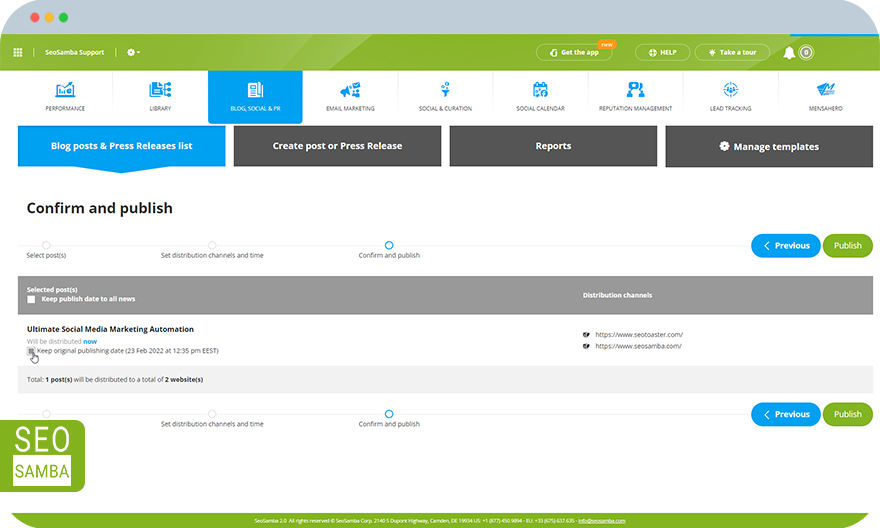
When clicking Next ›, you will see the summary of the distribution settings and here you can either go back by clicking ‹ Previous and edit them if something doesn’t seem right or Publish
When you schedule the distribution of news you can see the following markers next to this news:
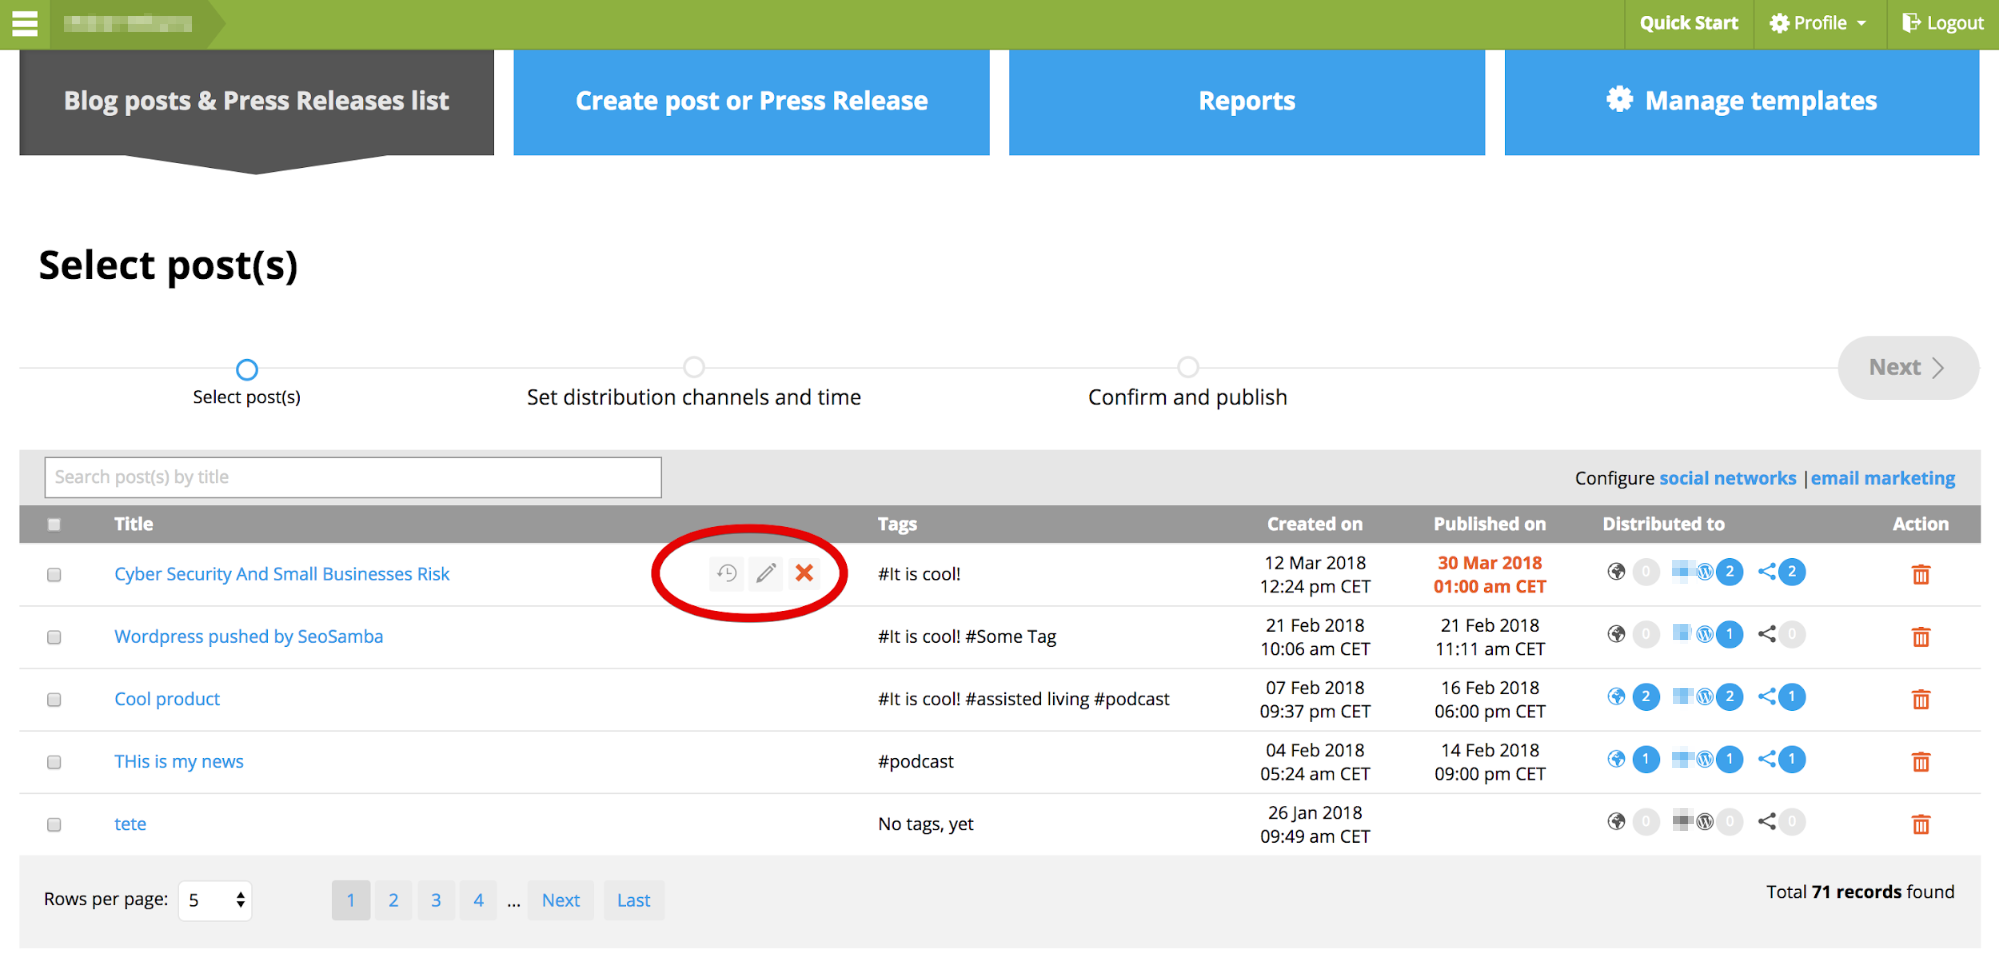
You may see the schedule information if your mouse over ![]() icon, edit the distribution channels by clicking or
icon, edit the distribution channels by clicking or ![]() cancel the publication schedule by clicking the
cancel the publication schedule by clicking the ![]() button.
button.
You may also hover over the  icons in “Distributed to” to see which websites and social networks the news is directed to. Or click
 ![]() and delete this news completely. Also you may see
and delete this news completely. Also you may see ![]() icon for a PR distribution report that typically appears a day or two after the PR was sent.
icon for a PR distribution report that typically appears a day or two after the PR was sent.
NOTE! You may distribute the news ONLY IF you have premium service account
Edit Blog Posts
If you would like to edit a blog post that has already been distributed to your website, select the blog post on the Blog Post Management screen, add the edits and click "Save and Distribute" select the website you are editing the the blog on, on the final screen you will see "Keep original publishing date" checkbox - this way you will edit the blog post instead of copying it:
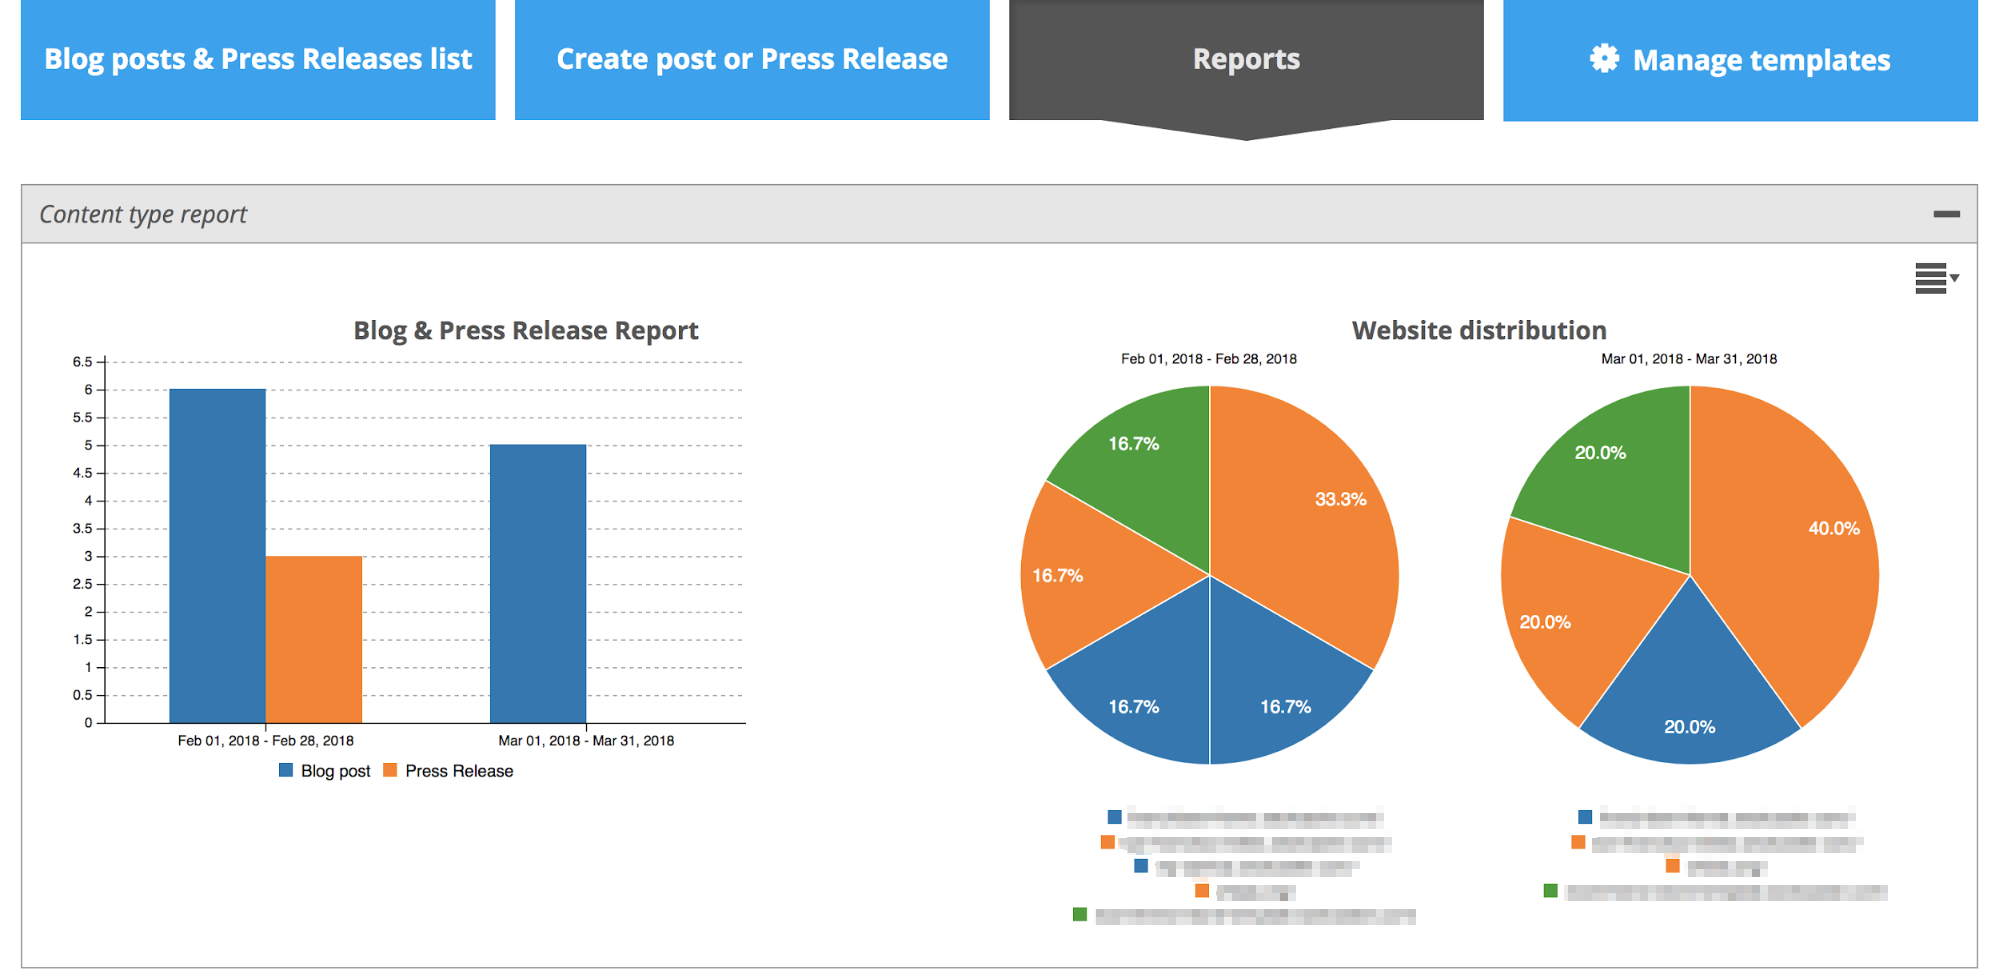
The statistics for all Blog & Press Release Report as well as Website distribution is represented in the charts in the Reports tab:
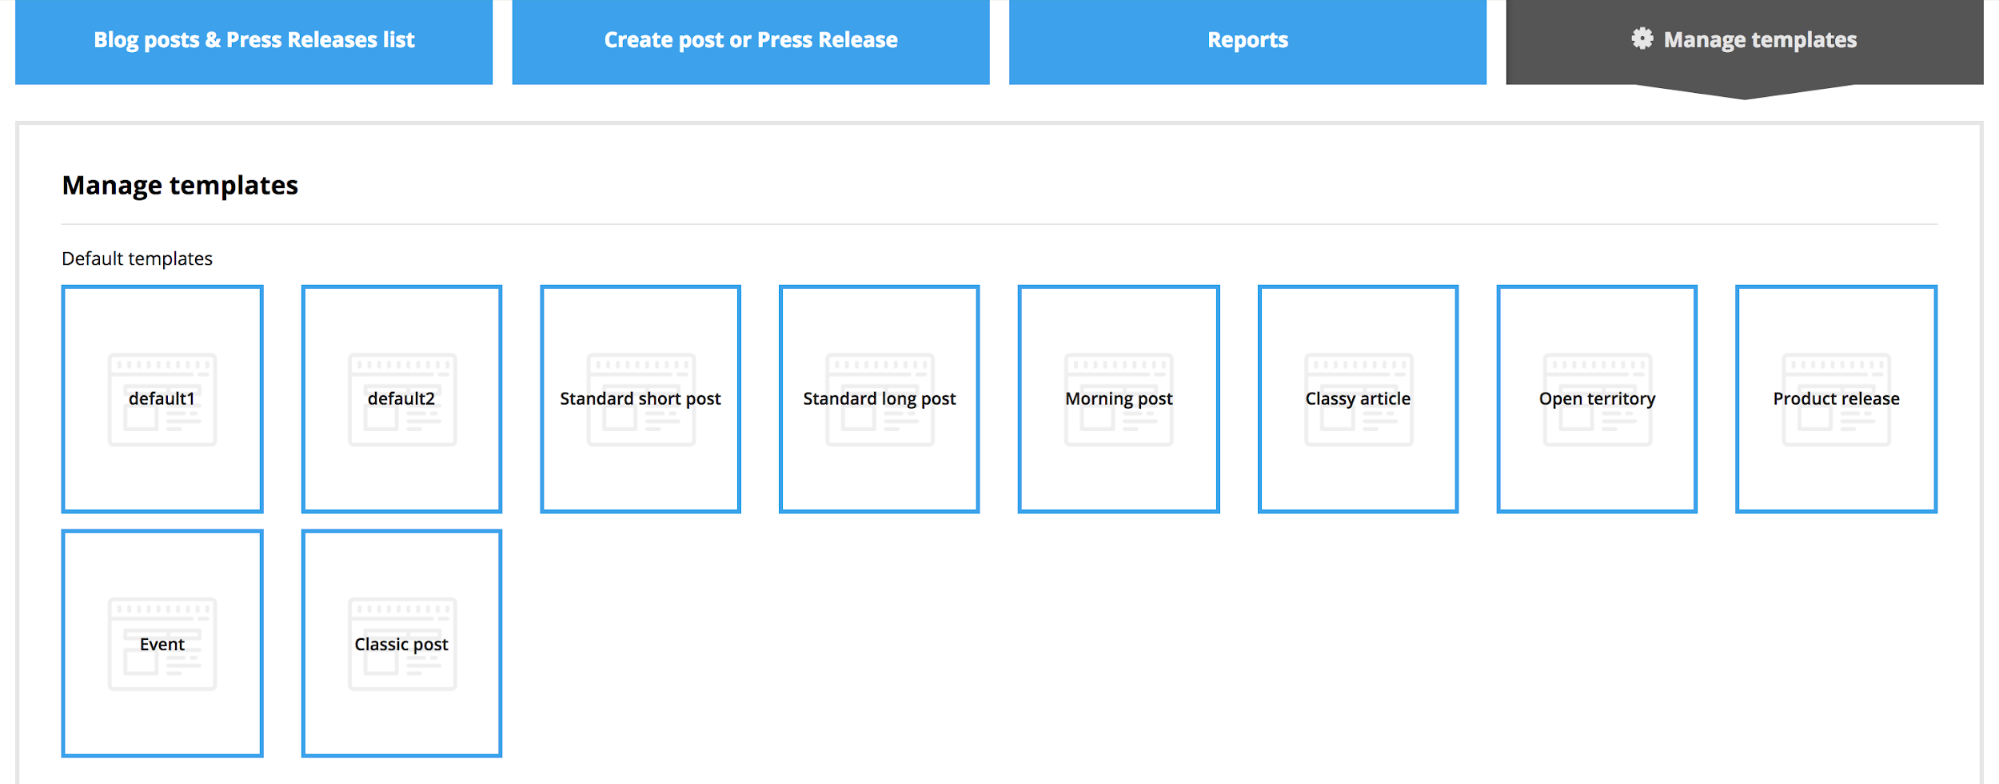
The last but not the least, you can manage your templates any time you want in ⚙ Manage templates tab. Just select the one you would like to modify or build a new one from scratch.